My new favorite invention... Rit fabric dye! How cool is this stuff??!! Uhm, VERY!
I've only used it once so far and I'm thrilled with it. I can't wait to try it on some more projects, woooo!
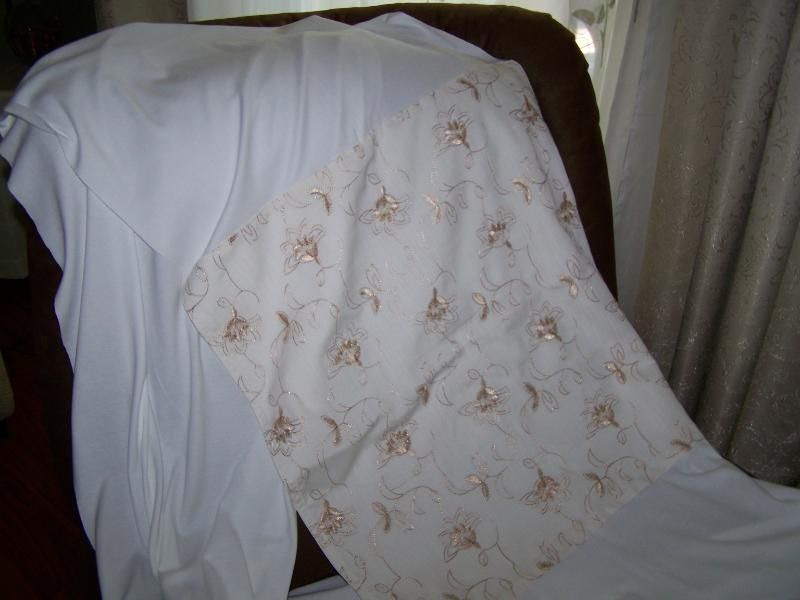
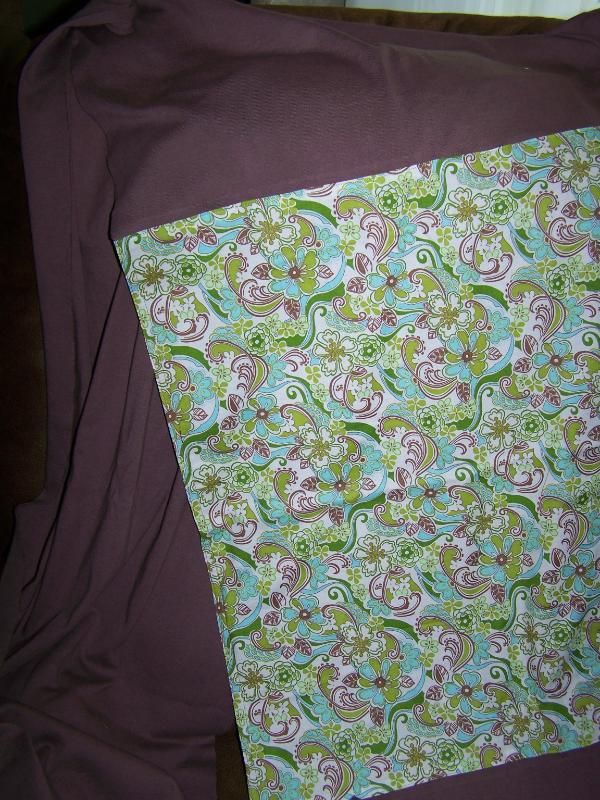
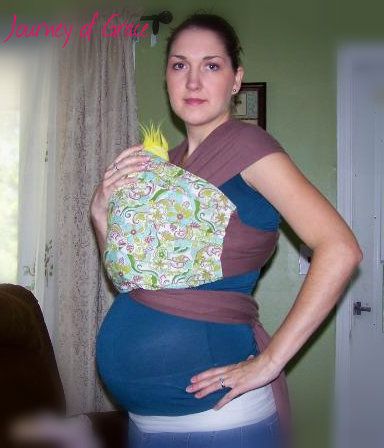
Here you'll see where I posted about different baby carriers, one of them being the DIY Moby Wrap. I had purchased 7yds of white knit fabric. Some of it was used for a white Moby and I wanted to make another one but needed a different color fabric. I chose to dye the fabric with Dark Brown Rit.
(These are photos of my Moby Wraps, one with the regular white knit and the other with the dyed fabric)
You will need:
- Fabric (preferably a white color. If you are wanting to dye a different color you need to check out a color wheel to determine what color dye to purchase to get the desired outcome. Experimenting with swatches may be necessary)
- Rit Dye of your choice (they sell it in liquid or powder form at craft stores, and places like Walmart or Target in the laundry detergent section)
- Gloves
- A spoon or long stirring item you don't care about
- If you choose to do the stove-top method, a large pot that you will never cook food in. I'm using the sink method so a pot is not really needed (except I did boil some water).
~~~~
I'm working with a ton of fabric in this project: 5yds long by about 30in wide.
- First, especially if you are working with new fabric, wash it. I'd recommend not using any fabric softener, just regular detergent. You want to wash out the starchiness. If you add fabric softener to your washer or dryer load it will cause repelling (maybe more so over time, but just don't add it at all yet since you really want your fabric to grab the dye).
- While your fabric is washing get your dying method ready. I used the sink method since our sink is deep, black and won't stain. I brought water to a very early boil (I just wanted water that was slightly hotter than I could get out of the faucet) in a 6qt pot and poured it over in to the plugged sink. To fill the sink up a little more I turned the faucet on hot.
** Now is a good time to glove up and put on some crummy pants along with one of your husband's undershirts because your belly is so big at 36 weeks the only shirts of your own that still fit are too nice ;) **
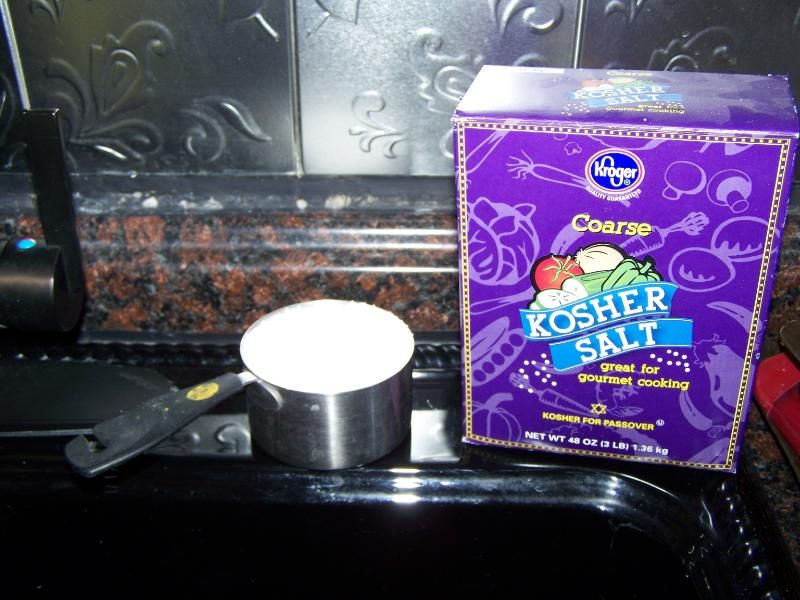
- The sink method says to use 1 cup of salt and 1/2 bottle of Rit dye. I added the salt first, stirred it to dissolve then added my 1/2 bottle of dye. Stir it around for a minute so the dye mixes in with the water
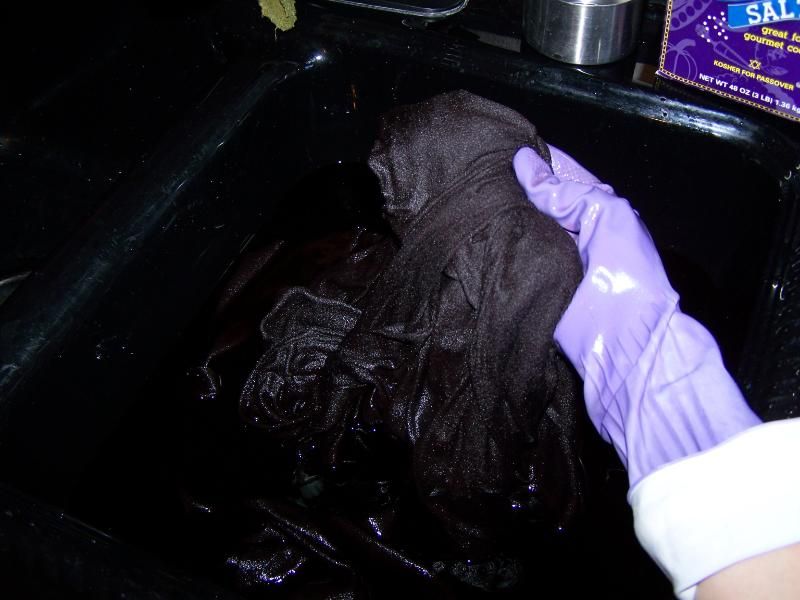
- Rit recommends you add your wet fabric to the dye slowly and without folds. Oh boy. Luckily I used the washer so I don't have to wet the fabric. I just had to pull it all out and untwist it. I laid my heavy 5 yards of wet fabric on the counter and starting with one end slowly dipped the fabric in to the water making sure it went in with no folds or creases that would prevent dye from touching it evenly.
- Once it was all in I started the tedious task of stirring around fabric for nearly 30 minutes. Being 36 weeks pregnant I pulled up a stool and set there mixing and moving and re-situating the fabric with my gloved hand. I made sure to pull out pieces every now and then to make sure it was getting dye everywhere in hopes to prevent any blotchiness in the finished product.
- After the 30 minutes (it says 30-60min.... 30 sounded just fine to me!) I drained the sink and pressed what excess water I could from the fabric. Rit says to rinse the fabric until the water runs clear. That would take literally centuries in the sink so I tossed my fabric in to a bucket and took it to the washing machine.
- I did 2 Delicate loads on warm both with extra rinse cycles, NO detergent. Then I did another load WITH detergent and the extra rinse cycle. This process kind of reminded me of coloring your own hair. They always tell you to rinse until the water runs clear but no matter what the next time you wash your hair the water is never clear. The first two wash cycles did a well enough job in my book even though during the 3rd cycle with detergent I still saw slight discoloration in the water.
You will need to wash your fabric separately or with like colors the next few times you decide it needs to be washed in case there is more bleeding.
Once I was done with the rinsing and washing I tossed the fabric in to the dryer. What a beautiful brown I got! I think it could have come out darker if I had either added the whole bottle of Rit or sat there for another 30min stirring it around, but I'm actually very very happy with the color!

~Lisa~

I want to dye a black moby wrap to a lighter color. Should I just bleach it then dye it something else? I've never tried this so any advice would be helpful!
ReplyDeleteThat should work. When you cleach it, however, it will probably be a yellowish color because it is black. I've never bleached anything like that before, especially that large but I found this link which should help get you through the process. http://www.ehow.com/how_12043763_bleach-dark-clothes.html
DeleteAlso, there is a color chart that will let you know what colors will do to your fabric. It is based on a white base so keep that in mind when you finally go to dye your fabric. http://taeliac.deviantart.com/art/Tutorial-RIT-Dye-Color-Chart-68381059
Hope that helps some!!