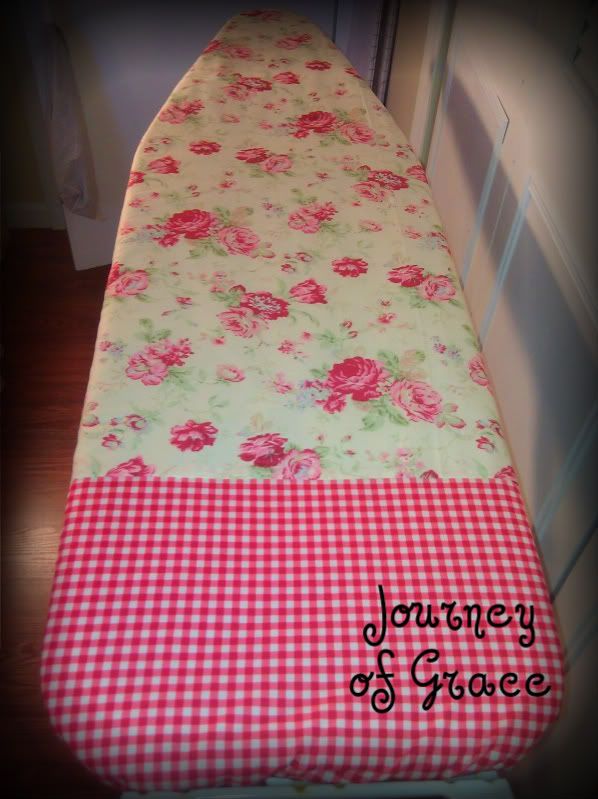
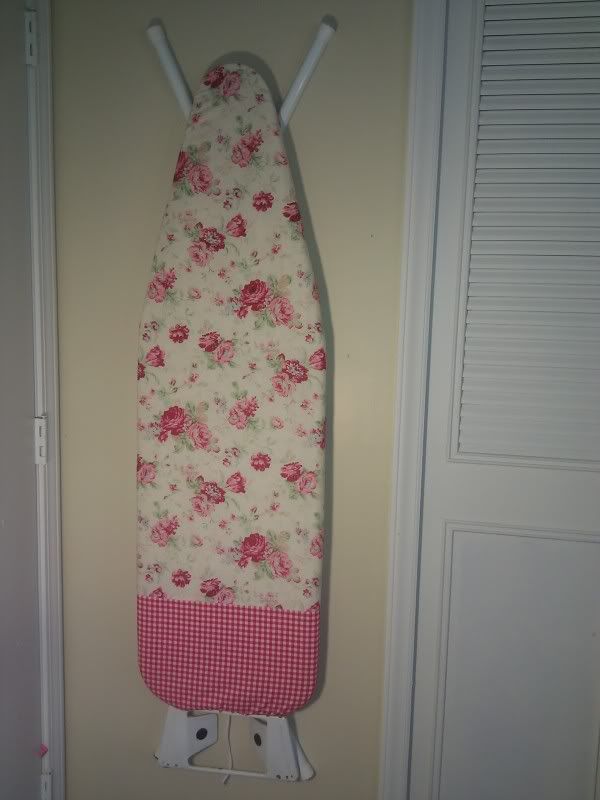
Who hasn't had an ugly ironing board cover that looks like it could magically untie itself from the board and strangle you in your sleep!? Unless you buy a new cover or new board every few years, or you just don't use it, then maybe you're safe. Some of us, however, have an evil stranger lurking in our house!! This week I finally kicked mine out and ahh, does it feel good!
I'm kind of bad about taking photos throughout the process of projects but this is incredibly easy. So easy I didn't even measure anything. I eyeballed it all.
TIP: Use scrap fabric you have! Unless you're dead set on a specific fabric that you'll have to buy, using scraps makes this a free project. And who cares what color thread you use because nobody is gonna see it :)
Here is what you will need:
~Ironing board with a hideous cover
~Sewing machine
~Fabric & thread of your choice (I chose two different fabrics since I didn't have enough of the floral)
~Clothesline string or elastic (I had planned to use the elastic that was in the original cover but was having a horrible time with it. Thankfully I had clothesline string!)
~Safety pin (to help pull the string through your hem)
~Quilt batting
1.) Lay out your quilt batting on the floor then lay your ironing board on it top down. I used a marker and traced around the edge of the ironing board leaving a gap of about 2 inches from the side of the board. You'll want some to hang over the edge in the final product. Cut the batting.
2.) Lay out your fabric and repeat step 1, but I traced mine out about 3 inches from the edge of the board knowing I'd need a lot of space to work with for hemming and a hole for my string. Cut the fabric.
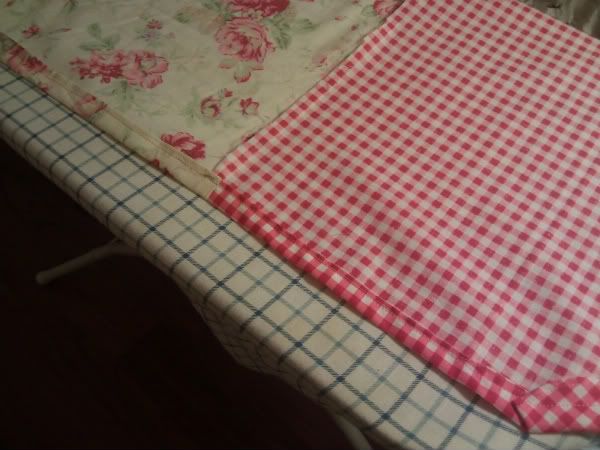
3.) Since I used 2 different fabrics I had to go ahead and sew them together. That's pretty easy, just put the fabrics, right side together, and sew the seam across. Go ahead and lay the fabric back out and iron the seam that way it's nice and flat once you put it on your ironing board.
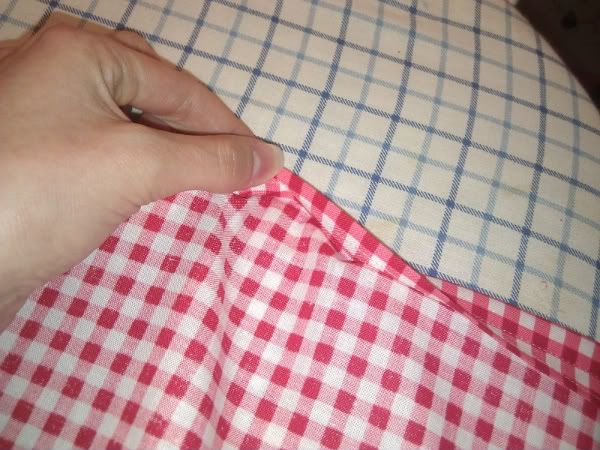
4.) Next I took my cover to my sewing machine and, fabric right side down, rolled my own hem as the machine sewed around. I folded it in about 1/4in all the way around. This step is so sloppy because it's not going to be seen. I just needed a tiny hem so that when you fold over again in step 5 you don't have a raw edge hanging out.
5.) Once the tiny hem is done (more eyeballing ahead, beware!) I folded the fabric in by maybe 3/4 in all the way around and pinned it. However far you fold this over make sure it is enough to stick a medium sized safety pin and your chosen string/elastic through. The corners will be strange but be sure to keep enough space when sewing them to fit that string!
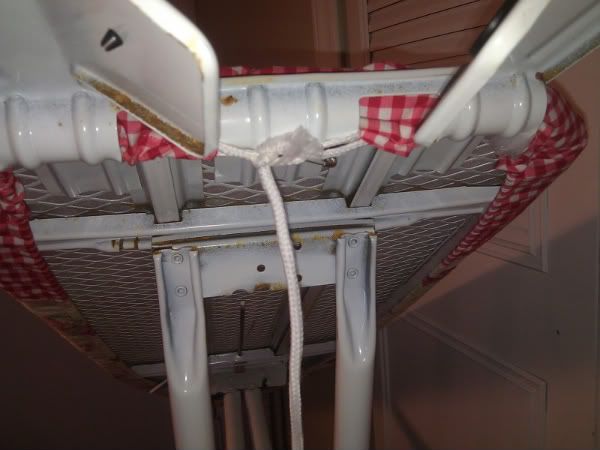
6.) Be sure to keep a couple inches open (I chose to keep the hem open on the wide bottom of the cover). Begin sewing around your hem. Here is my opening if you can tell:
This should be the last time you use your old cover :)
7.) Now comes the difficult part. Put a safety pin through your elastic or string and begin pulling it through the hem you just created. Make sure that if you are using elastic that you don't pull the end through your opening or you'll have to start all over! This will take a few minutes. I found it difficult but my back was hurting and I was ready to get it done!
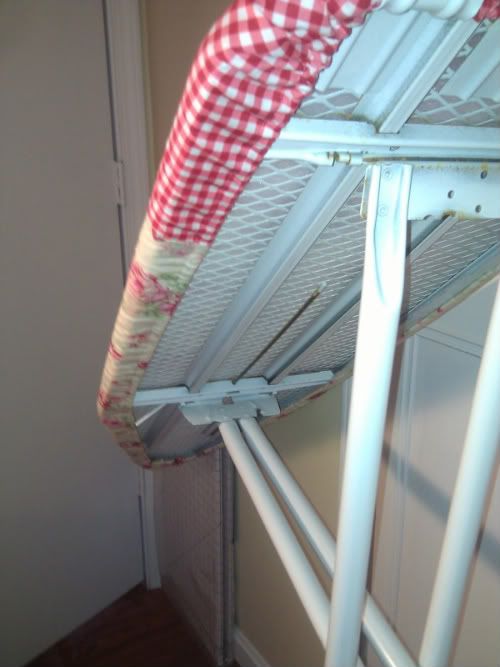
8.) Make sure you pull off your old cover. Lay out the quilt batting on your board that you cut in step 1. Take your completed cover and lay it on your board. This is where you'll have to move it around, adjust things, get the fitting right etc.. You might want to go ahead and start pulling your string ends to tighten it up as you fix the cover on the board. Once you get it placed right where you want, pull your elastic or string as hard as you can and tie it off.
You're done!!!
I put a couple of large screws in my wall behind my sewing room door to hang my board on. (Just using what I had handy!) Perfect fit and now it coordinates with the room and fabrics already in use in there :)
I hope my directions were easy enough for you! Now go tackle the ugly cover you have lurking in your house!!
~Lisa~


