Thursday, December 29, 2011

2011 In Review - 2012 So Much To Do!!

Dear Readers & Followers,

Wow, this last year has been AMAZING! I've done more sewing and DIY projects than I could ever have imagined. I got my first sewing machine and went on a mad spree of successes and failures.. did a couple of major home remodels, and got in to the fun world of furniture makeovers! Every now and again I even like to share what the Lord is doing in my life :)

My dedication to this blog has drastically increased and I absolutely love coming here to share new creations and fun things to inspire others. To me it is like giving back the inspiration that I have drawn from other bloggers! I think I'm in it for the long-haul! With the year rounding out I'd like to share my 2011 Top 10 posts along with a 2012 to-do list of things I'd love to accomplish. I'm looking forward to the new year, are you?!

~Lisa~


Top 10 most viewed posts of 2011:
Follow the links to see the posts!
10.
Photobucket

9.
Photobucket

8.
Photobucket

7.
Photobucket

6. 
Photobucket

5.
Photobucket

4.
Photobucket

3.
Photobucket

2.
Photobucket

1.
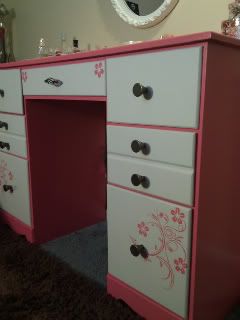
The most viewed post that so happened to be my very first furniture makeovers...
Photobucket


Photobucket

Top 10 to-do list for 2012
A few of the things I'm looking forward to accomplishing and blogging about this year:

1. Re-stain and beautify our front and back porch.

2. Gel Staining the front door and kitchen french doors inside & out. 

3. Finishing the flooring in our 3 bedrooms.

4. Interior doors makeover, or replacement...?!

5. Jaiden's room makeover including
Making a STAGE area!

6. A lot of repainting!

7. Mirror closet doors redo.

8. Recover couch cushions.

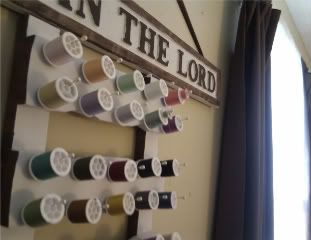
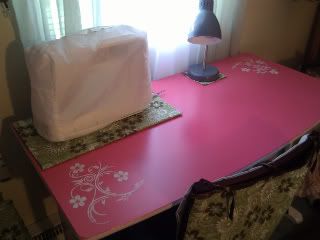
9. Completely reorganize Sewing room.

10. And maybe, just maybe, a bathroom redo!


Linked:


Wednesday, December 28, 2011

Not mine, but Somebody's Ideas to Make Life Easier


**I absolutely can not take credit for any of these ideas. I got them in an email from my Dad's GF and just had to copy, paste, and share!!! Feel free to do the same :)**


Why didn’t I think of that?!  We guarantee you’ll
be uttering those words more than once at these
ingenious little tips, tricks and ideas that solve
everyday problems.


Hull strawberries easily using a straw.
Photobucket


 Bread tags make the perfect cord labels.
Photobucket


Attach a Velcro strip to the wall to store soft toys. 
Photobucket


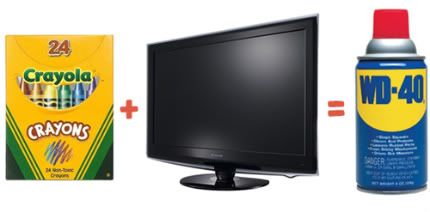
Remove crayon masterpieces from your TV or
computer screen with WD40.

  Photobucket


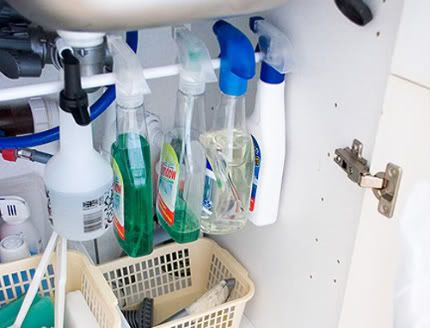
 Install a tension rod to hang your spray bottles.
Photobucket


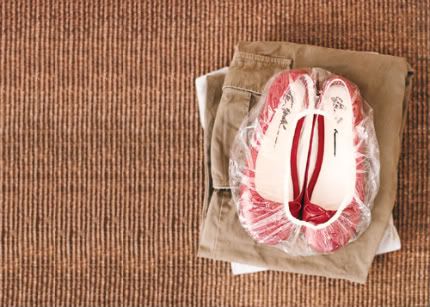
Store shoes inside shower caps to stop dirty
soles rubbing on your clothes.  And you can
find them in just about every hotel.

Photobucket


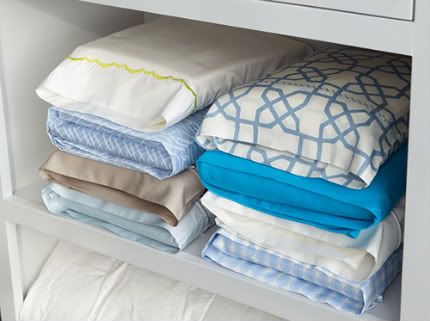
Overhaul your linen cupboard, store bed linen sets inside one of their own pillowcases and there will be no more hunting through piles for a match. 
Photobucket


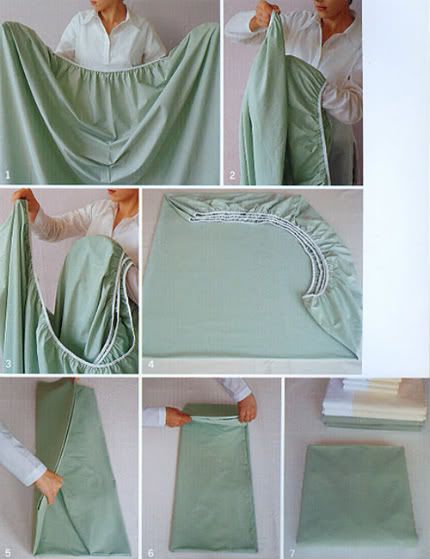
For those who cant stand the scrunching and
bunching: how to perfectly fold a fitted sheet.
Photobucket


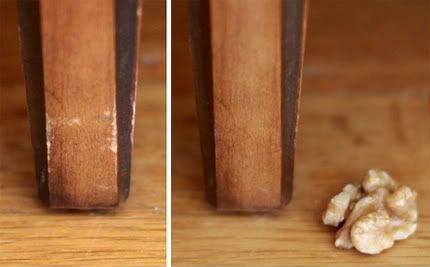
 Rubbing a walnut over scratches in your furniture will disguise dings and scrapes.
Photobucket


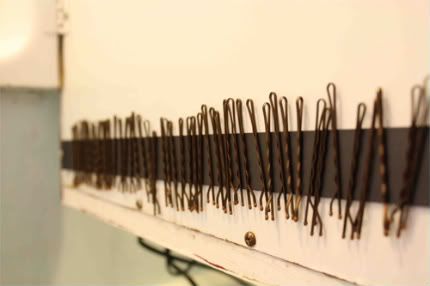
Forever losing your bathroom essentials?  Use
magnetic strips to store bobby pins, tweezers
and clippers, behind a vanity door.
Photobucket


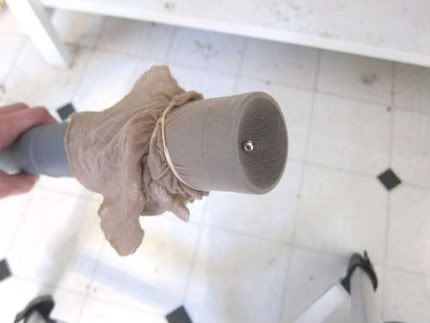
Find tiny lost items like earrings by putting a
stocking over the vacuum hose.

Photobucket


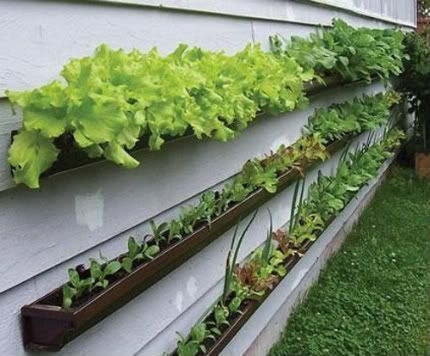
Create a window-box veggie patch using guttering.
Photobucket


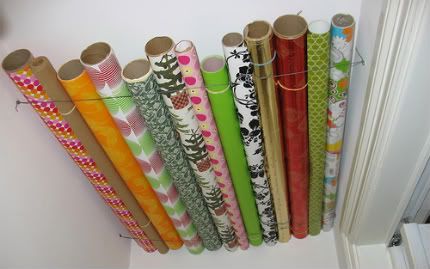
Use wire to make a space to store gift wrap rolls
against the ceiling, rather than cluttering up the
floor.

Photobucket


Use egg cartons to separate and store your
Christmas decorations.
 

Photobucket


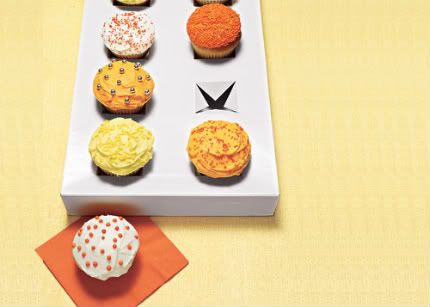
Make an instant cupcake carrier by cutting
crosses into a box lid.

Photobucket


Turn your muffin pan upside down, bake cookie-dough over the top and voila, you have cookie bowls for fruit or ice-cream.

Photobucket


Bake cupcakes directly in ice-cream cones, so
much more fun and easier for kids to eat.

Photobucket


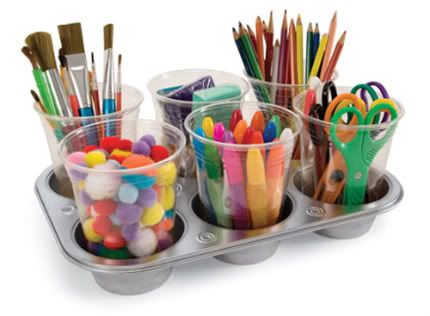
A muffin pan becomes a craft caddy.  Magnets
hold the plastic cups down to make them
tip-resistant.

 Photobucket


Re-use a wet-wipes container to store plastic bags. 
Photobucket


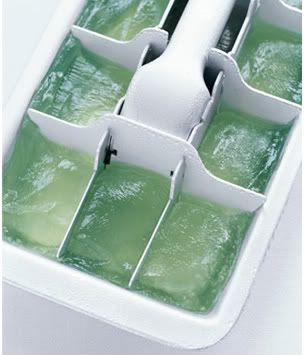
Freeze Aloe Vera in ice-cube trays for soothing
sunburn relief.

Photobucket


Rub baby powder on your skin to get the sand off at the beach.
Photobucket

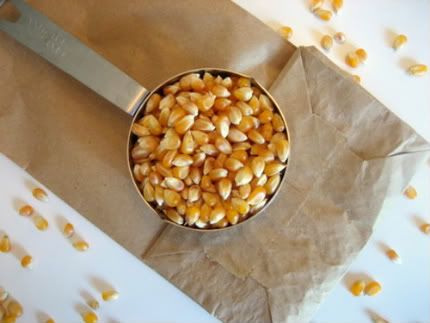
Microwave your own popcorn in a plain brown paper bag. Much healthier and cheaper than the packet stuff.Photobucket

Pump up the volume by placing your iPhone & iPod in a bowl. The concave shape amplifies the music. 
Photobucket

Monday, December 26, 2011

Target TV Stand Makeover

Photobucket

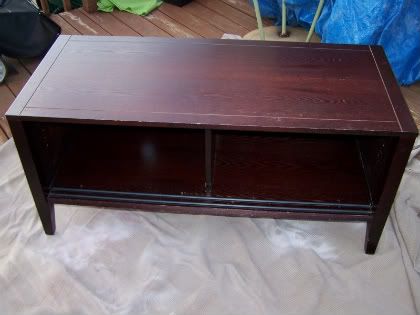
While keeping in mind the theme of the coffee table redo, I went forth and shared the same love with my TV stand! When we first bought our house a few years ago we needed a new place to put our long gone big ol' flat screen tube TV. Target had the one I wanted... here is the before photo minus the doors.


It's hard to tell in this photo but that poor stand has taken a beating by following our daughter from 10 months to 3 1/2 years old. Amazingly she never smashed the glass doors out which was quite the fear of mine provided her immense level of activity!
A quick rundown of what I did: Started out sanding it down (by hand... I really need an electric sander) but I decided 1.) because I hate sanding, and 2.) because I wanted to have the original finish shine through at the end that I would not sand it down completely, just enough to allow the paint to adhere to the surface.

After about 3 coats of white paint I had fun roughing it up by sanding it down here and there to give it some character. Then came the Polycrylic. Oooh I really love that stuff! I only did 1 coat of it which they recommend 2 or 3. I didn't want it to look completely sealed up and also since this surface won't get a ton of use like the coffee table I figured one would be ok. And any extra nicks and booboos surely would not hurt a surface that already looks booboo'd. 

With some quick wire hiding and organizing it now looks beautiful and doesn't sink in to the dark floors anymore!

Photobucket


Photobucket


Linked!
 
Photobucket


The DIY Show Off
Manic Mother

Wednesday, December 21, 2011

Future Front Door: Faux Wood Stain?!

I think I have discovered the coolest thing since sliced bread... OK maybe not THAT cool, but this is still incredibly awesome. 

We have an awful front door. Replacing it isn't in the budget, and while I'm thankful for the door we have because it does keep the weirdos out, it's like an apartment door or something. No window, completely plain from the inside with just a peep hole. It has trim on the outside to give it the paneled look but that's about it. 

White. 

With finger smudges. 

And Crayon marks.

Well, thanks to Rachael over at Lovely Crafty Home I now have a solution for my ugly door!  


Gel Stain?! Never heard of it! Minwax was cool when I found out about Polycrylic but now this!! Oooh Minwax, I love you and can't wait to try out your Gel Stain :) 

Here is another great link I found that includes a YouTube video on the technique of making it actually look like wood grain. Thanks, Monique! Door update Faux Finish: From Steel to Wood

Tuesday, December 20, 2011

Hair Trials: The "Suicide Roll"


I'm doing my first hair post!! I'm kind of shy when it comes to trying things new but as my hair has grown out I'm trying to get a little more creative. Last time I had long hair was around 3 1/2 years ago. Thanks to postpartum hair loss that hit me hard when Jaiden was 3 months old I decided to get it lopped off and my hair has been relatively short since... Until now!! Weeee!

One of the styles I'm trying is the 1940's "Suicide Roll." I have seen people label it as faux bangs but the overwhelming majority of people call it the "Suicide Roll." Interesting... but please know it's just the name of the hair do :p

I'm going to put this hair MUST-HAVE secret out there because I think more people neeeeed to know...

YouTube.

Yep, YouTube!! That is the best possible place on the planet to get endless hair style ideas from!

Here is the original video I found to get me going:


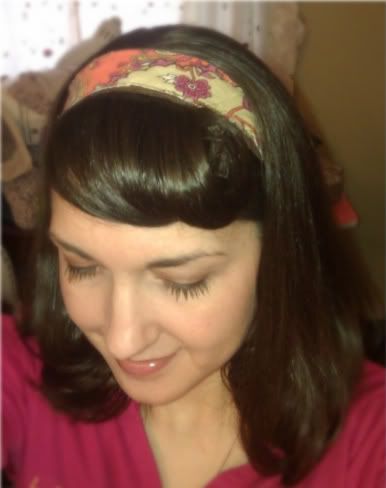
With the above tutorial I got this result:

Photobucket

I started looking up other videos to see how people change around the style. There are so many ways you can make this work! I admit, it is not the easiest style to do. It takes some tweaking around and getting used to and it will work differently for everybody depending on how thick or long your hair is. I say that because my friends hair is much longer and thicker and she had to 'work it' in a way I didn't have to.


Today I went for another look with the same concept:


Photobucket
Photobucket
Photobucket

The roll is wider, and with a cute DIY headband (top and bottom photo) it is super cute! The middle photo is the best one I could get of my hair pulled back. I was pressed for time (yes, I'm in the car BUT I was at a stop light!) on my way to work and wanted to snap a pic. I put the pony tail up (at home, not in the car...) as high as I could without being on the top of my head. With curls it gives the pony tail adorable volume. 


I've broken out of my shell and tried something new! Your turn!!

Sunday, December 18, 2011

Thrift Store Coffee Table redo!


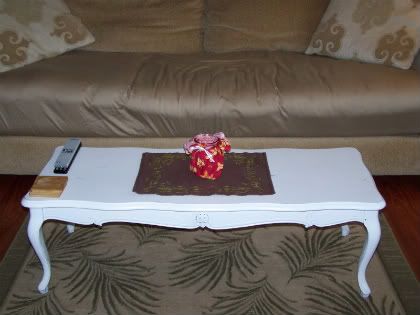
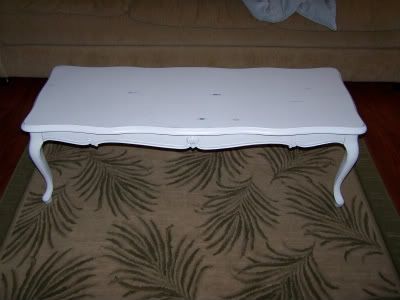
Yay for the Habitat for Humanity ReStore! Thanks to them I paid $10 for a coffee table, and the money went to a good cause :) I knew the coffee table was ugly when I bought it but it was in good shape and had a lot of potential so it became a guessing game as to when I'd get off my bum and actually paint it. Well, I finally got off my bum!! Wish I could find a good before photo... If you can imagine a brown table with a faux wood look.

Photobucket

I'll be happy to tell you how I originally screwed this thing up and then made it all right!! 

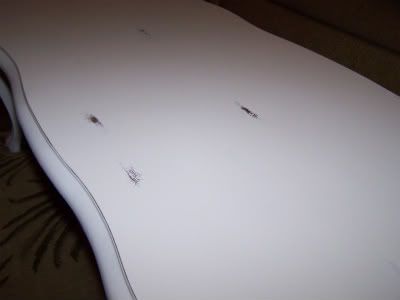
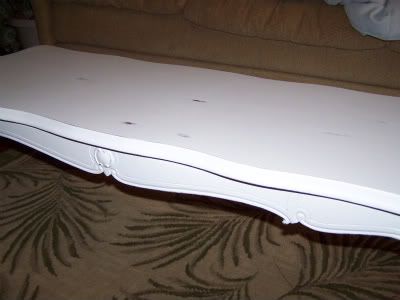
I started with light sanding then proceeded to spray paint a gloss white on it. After a few layers I hated it so sanded it out a little and used Krylon primer spray. The spray painting to begin with was awful. I see so many people do great makeovers with spray paint but apparently I'm no good at it. I decided to whip out the only white paint I own, my interior wall & trim paint, and rolled it on all over. Looked MUCH better! After a little sanding in spots to give it the roughed up and worn look it was ready for the next step.

This is the expensive part: protecting the table with a clear coat finish. Obviously being a coffee table, at least in my house, I can expect it to get things spilled on it, sticky gooey things stuck to it and all that jazz that comes with a 3yr old so I really needed something I could clean without messing with the white paint. I did some research and found the best option for my project was Polycrylic (I chose to buy the satin finish... they also sell it in gloss). Unlike Polyurethane, Polycrylic won't yellow over time, is water-based, and has a faster drying time. The downside was the price. It runs about $15 for a quart at WalMart, however it'll last me through many many more projects! Here is a link to a short comparison of the two: Water-Based vs. Oil-Based Minwax Polyurethane. 

I am pleased with the final finish and admit that so far it seems incredibly durable despite my original painting flubs. Enjoy! I hope this has helped you in some way and maybe inspires you to attempt a furniture makeover! 

Photobucket
 
Photobucket
 
Photobucket

I'm linked up!!

DomesticallySpeaking