
I feel like I'm on some sort of creative roll, and I have no clue where I got it from. I take that back, yes I do! I suppose the Good Lord sees how frustrating my old ways of organizing and decorating are to me so he has given me a nudge in the right direction. I am very thankful for it. It needs to be done, plus I'm having a blast with it!
This week I started work on a spool rack.

Since it is my sewing room I have to have a place to store thread spools.
Originally I had them in a tiny drawer and that got old way fast especially when I ran out of room. Then I bought wood craft boards that I wrapped with quilt batting and brown fabric, then hammered nails in to at an angle. My goal was to wall mount it. That project failed because I bought nails that were too short so the larger spools slid off :(
Originally I had them in a tiny drawer and that got old way fast especially when I ran out of room. Then I bought wood craft boards that I wrapped with quilt batting and brown fabric, then hammered nails in to at an angle. My goal was to wall mount it. That project failed because I bought nails that were too short so the larger spools slid off :(
I wanted to do this project at ZERO cost to me, using materials I already had.
Thank you, previous homeowners, for leaving behind this ugly wall hook rack for me to keep hung in the same place for nearly 2 years before realizing how hideous it was and making it over for a beautiful new purpose!
I can't find any better pictures of the before product. You get the idea though... the other half isn't hiding any surprises. Trust me.

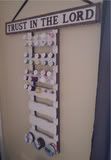
After a little hunting around and brainstorming I decided to use a box of corsage pins I had as the hooks for my thread spools. I hammered them in just enough to hold the spools. Then I hung the rack on the wall along with an old "Trust In The Lord" sign my MIL gave us a few years ago.
It was pretty ugly before I painted it which explains why it sat in a closet for a long time.
I took the old brackets off the top that allowed the shelf to hang horizontally and moved them to the side so it would hang vertically. I also had to create a way for the sign to hang since the old method was with a metal wire hot glued to the back that was in bad shape, so I nailed brown ribbon to it. I'm not too terribly pleased with the way that part looks but I'll fix it one day when a new idea comes to mind.
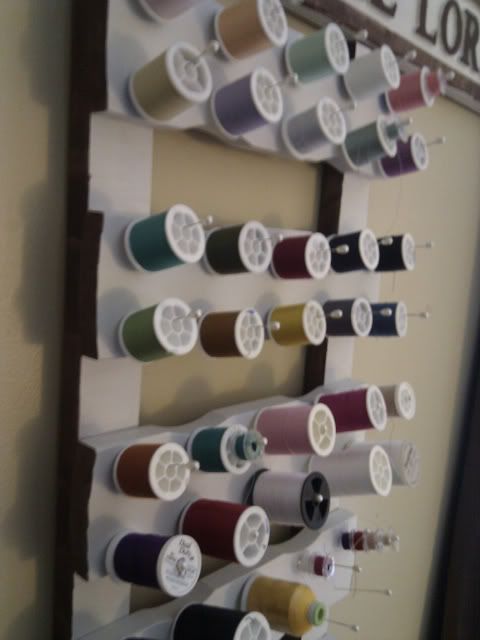
Here is a close-up to give a better idea of how the pins serve their purpose. On smaller spools I can keep the bobbin with it, otherwise I just stack the bobbins up on another pin. It also worked great for my tiny stash of ribbon!
It was pretty ugly before I painted it which explains why it sat in a closet for a long time.
I took the old brackets off the top that allowed the shelf to hang horizontally and moved them to the side so it would hang vertically. I also had to create a way for the sign to hang since the old method was with a metal wire hot glued to the back that was in bad shape, so I nailed brown ribbon to it. I'm not too terribly pleased with the way that part looks but I'll fix it one day when a new idea comes to mind.
Here is a close-up to give a better idea of how the pins serve their purpose. On smaller spools I can keep the bobbin with it, otherwise I just stack the bobbins up on another pin. It also worked great for my tiny stash of ribbon!

No comments:
Post a Comment
I LOVE comments so please leave one about my post before continuing on your creative journey!