My review on Gelish Gel Polish!
A few weeks ago I decided to purchased a Gelish kit. I hate paying to get my nails done, and I never keep up with it. Plus if you go for acrylics they are so harsh on your nails that if you decide to get them removed it takes a long time for them to grow out completely and recover. Regular polish is also a bust on my nails so my hope was to have more success with gel.
Many nail salons offer gel polish but you're looking at about $25-$30 every time you want it done. Typically every 2 to 3 weeks is when you should redo them. You don't get fill-ins because it's just a thicker polish they apply in coats so each time you go they have to remove the polish and start a new "set" over.
What You Need to Get Started
With this kit you get:
- Mini Gelish Ph Bond
- Mini Gelish Foundation
- Mini Gelish Top It Off
- Mini Gelish Nourish
- Mini Gelish Cleanser
- Mini Gelish Artificial
Nail Remover.
This kit claims it will last you about 15 applications. I did, however, have to purchase additional nail remover after the 3rd application.
You do not get any colored polishes or a UV/LED lamp. These must be purchased separately, and a lamp is required in order to set the polish properly. I purchased a basic
mini UV lamp.
My Experience with Application
Initially I decided to try the gel minus color, just using what came in the Basix kit. Definitely pleased with the results! The polish stays shiny the entire time you wear it, and it gives the nails a great protective coating without damaging your nails like the drilling and filing needed with acrylics. Just the regular kit application took about 15 minutes total. Once you decide to add color the process will begin to take a little longer.
After a few days of the natural color I decided to buy polish so I went with the basic white so I could do a french manicure. This process was a little more difficult. I do not often french tip my nails so it takes a little patience to get it just right. Fortunately gel polish is pretty forgiving and you can fix minor booboos with the polish or a fingernail if the edges get a little uneven.
Each coat, after the foundation (which cures for just 1 minute under UV) MUST be cured for 2 minutes! Otherwise it will not set properly for the next coat and could cause the final product to not work once you cure the Top It Off.
When I added the clear polish coat over the white tip it smeared :( I'm not sure if this had to do with not curing the white tip color well enough, if I put the white polish on too thick (which could cause it to not cure well), or if the regular clear Gelish polish I chose to coat over the white was just not a good pick...??
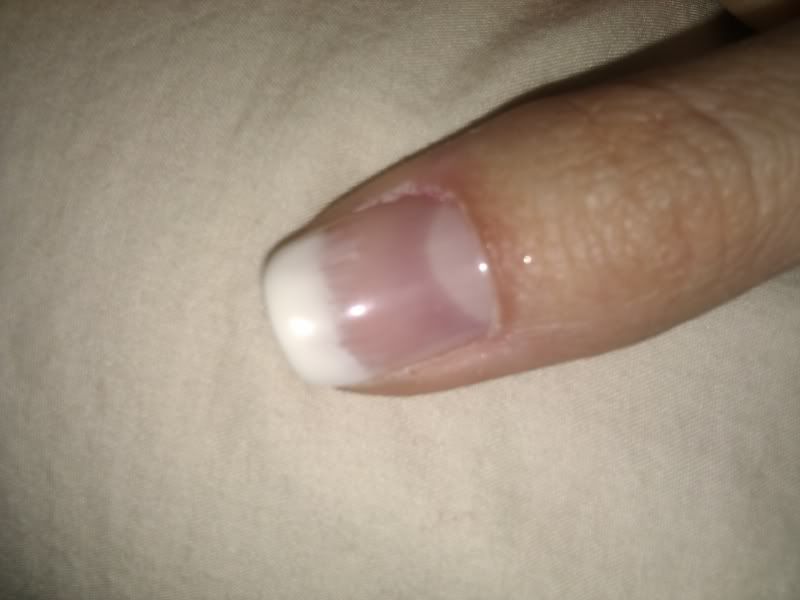
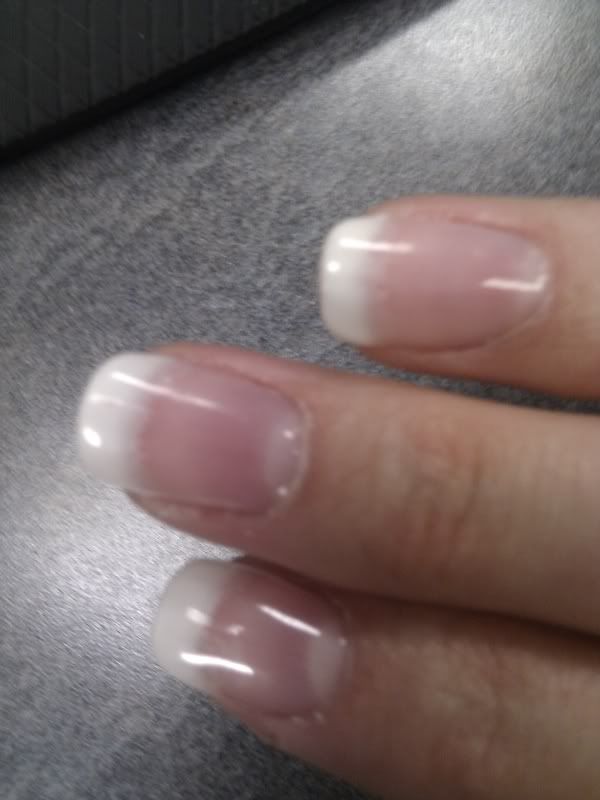
You can see a little in these photos where the polish smeared back slightly from the main white tip area. It was actually much more noticeable to me than these photos give credit. From a distance nobody would really notice though.
Video Tips
It took a little research but I finally found a video on YouTube of a girl who had a good polish idea for french manicures. Instead of using just the plain clear polish she chose some light glittery colors that make the finally product look cute plus I was somehow able to not smear the white tips using this method! Who knows what I really did wrong last time....
The video is long and ultimately shows you stamping and
design at the end, but all I was interested in was her application of
the Light Elegance color along with the french tips using Sheek White.
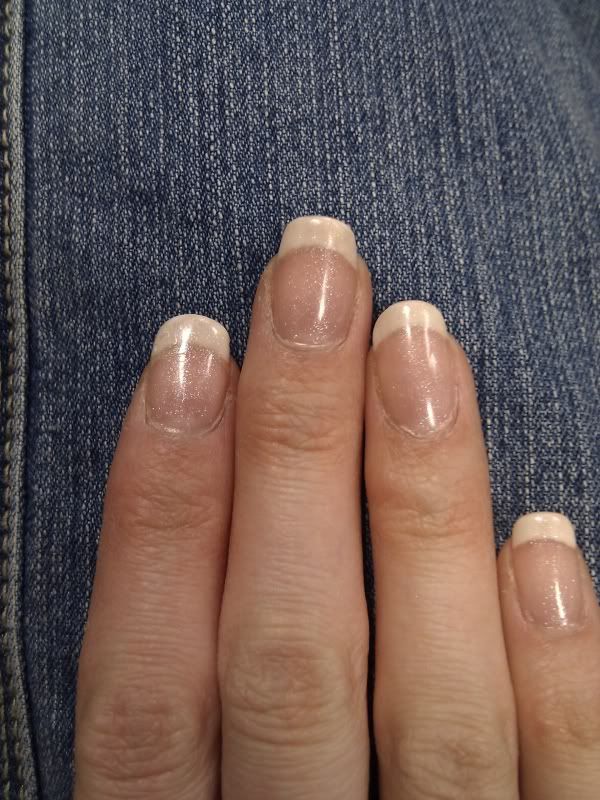
Here are my nails using the Basix kit, Sheek White and Light Elegance. I applied this coat approximately 2 weeks ago. Don't mind my crooked filing.
Nail Repair
Before I put this coat on I had the corner of my pointer finger nail (the one in this image) tear back by the finger. That was a bummer :( So I purchased a
nail repair kit and applied the polish over it as normal. The gel polish will not create a good enough coat of protection, without some sort of repair, to hold the tear since it still has flexible tendencies.
I have been pretty rough on this coat of polish with installing hard floors, rearranging furniture and painting so unfortunately I had the other pointer finger get another slight tear in the corner. I went ahead and did the nail repair kit over the tear and gel polish instead of completely redoing the polish on that nail and appling the repair underneath. That worked just fine but of course that spot of the gel polish will not be as shiny since the repair is on top. Ultimately I roughed that nail up too badly and it ripped the whole tip off. I will have to buy glue-on tips in order to redo the gel polish with a french tip on this nail.
Adding your own tips is perfectly doable but you have to file down the surface because gel polish will not adhere properly to shiny surfaces!
Apply Gel to Kid's Nails!!
I did apply gel polish to my daughter's nails. She's almost 4. She does not bite her nails (typically will pick at and peel them) so I felt comfortable doing it. Obviously her nails are much much more thin so I was very generous with filing and it takes a lot of patience to get a 3 1/2 year old to understand the process will take some time and she has to be still. Amazingly it worked and they lasted approximately a week. She also did not pick at her nails and peel the excess like she would without gel polish.
It's hard to "seal in the edges" (see the video, she shows how you are supposed to do that after every single coat) of a toddler's nails so it did leave hers open to easily peeling off, plus she loves playing in the dirt... I guess that saves me the trouble of soaking them off! Nonetheless she loved it and I can't wait to do a mani/pedi with her again soon :)
The Breakdown!
Cons:
- A bit time consuming (unlike regular nail polish)
- Removal takes 10-15 minutes before you can apply another complete "set"
-
You can't use regular nail polish with it (OK, there is supposedly a
way to properly use regular nail polish but I'm ok so far with
purchasing the Gelish colors to do it all gel. You'll just need to do your research on that.)
-
Price: The polish prices do add up. They cost about $10-$13 so if you
like to get funky and creative with each new application you'll need to
buy the polish for it, but since it does last 2 to 3 weeks it's not like
you have to buy polish every time you turn around. I buy a new color
maybe once a month or longer.
Pros:
- It doesn't damage your nails like acrylics
- Gives a little added strength
- Stays shiny
- Looks natural and not bulky like acrylics
- Very affordable compared to having them professionally done.
- Works great on toes, too!
I hope my input has been of some help to you ladies out there looking for a new way to do adorable, lasting manicures and pedicures :)


