Maddox's due date is fast approaching... We're down to less than 30 days!
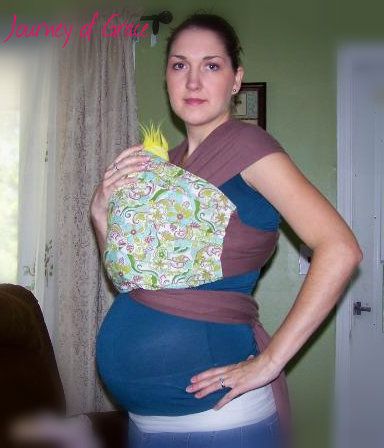
I've been busy the last few days making different baby wearing items to use when he comes along. My goal is always to save money. Truthfully I don't NEED any of this but knowing I can have something "designer" for a fraction of the cost by making it myself makes me feel like I NEED it, and I know they will get used so I don't see any waste in it. Now I just need the cute baby to put in them!
Ok, let's get this baby-wearing party started!
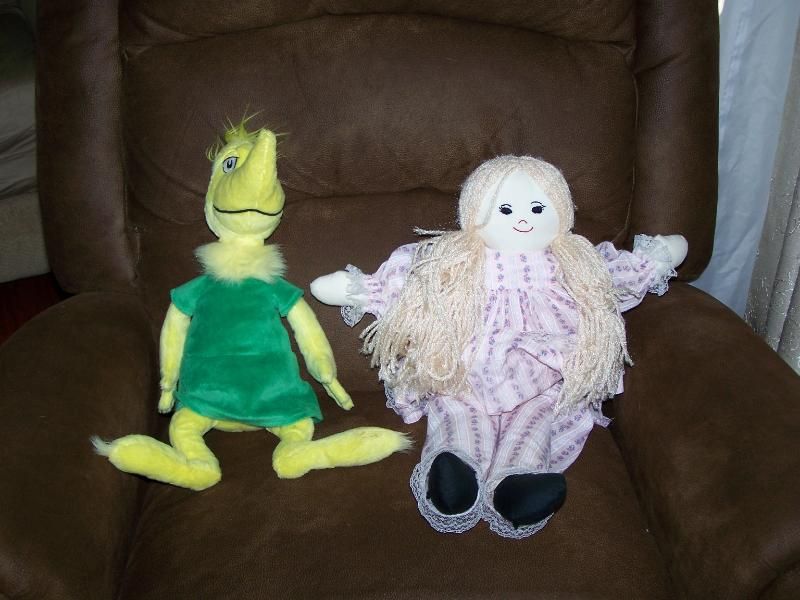
First, meet my tester babies...
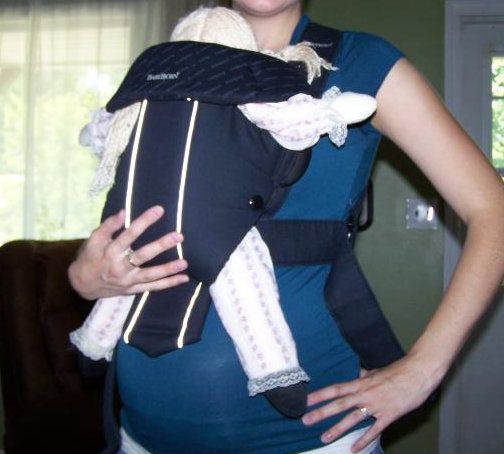
BabyBjorn
**UPDATE**
I suppose I knew the Baby Bjorn wasn't a great option. Just never really looked in to it much. Now I'm inadvertently more knowledgable on the subject. If you simply do a Google search on the dangers of Baby Bjorn style carriers you'll get the hint really quickly. Use this with discretion if you choose to do so.
Ok, one thing I can't really make is a BabyBjorn carrier, but it falls in to the baby wearing category so I wanted to share my awesome find. Secretly I have wanted one of these since the early beginnings of my pregnancy. There are several different styles and prices starting around $55 if you wish to buy new.
While at a kids consignment store a while back I found one on a rack with their baby carriers. I ignored it because I didn't really think we needed it until DH realized our old Snugli had pink accents. I told him about the black BabyBjorn I had seen so we took off to the store hoping it'd still be there.
Thankfully it was still there and after using $10 left on a gift card we only paid $10 out of pocket for a great-looking BabyBjorn Original!
Thankfully it was still there and after using $10 left on a gift card we only paid $10 out of pocket for a great-looking BabyBjorn Original!
Moby Wrap
The Moby Wrap is definitely my "thing." Making your own Moby is incredibly easy. The hardest part is dealing with a ton of fabric but it's a minimal sacrifice for the savings!
Price out knit fabric first. I was able to buy mine for $5 a yard on an end of bolt discount table. I bought the whole 7yds that was left. Keep in mind when pricing it out that 5yds of fabric from the bolt will make 2 wraps as long as it's at least 40 inches wide. Unless you are buying some outrageously expensive knit you will probably not exceed the retail price of a Moby and making one will still be totally worth it.
I don't really know what my knit is technically called.. it's a very soft maybe medium weight(?) knit that stretches width-wise. In doing research I'm finding the best support comes in a 2-way stretch in the width rather than a 4-way stretch in both length and width. If it stretches in length the fabric is going to loosen up and give a little more over time and you may find yourself adjusting it.
You don't even need to have sewing skills to make this wrap unless you wish to serge the edges and/or add a fabric panel. Otherwise it can be simply knit.
To make your own you will need:
- 5 yards of cotton knit fabric cut to about 20-23 inches wide. Mine is about 23" wide. My knit was 60in wide so after cutting out my 23" I have plenty left over for another wrap.
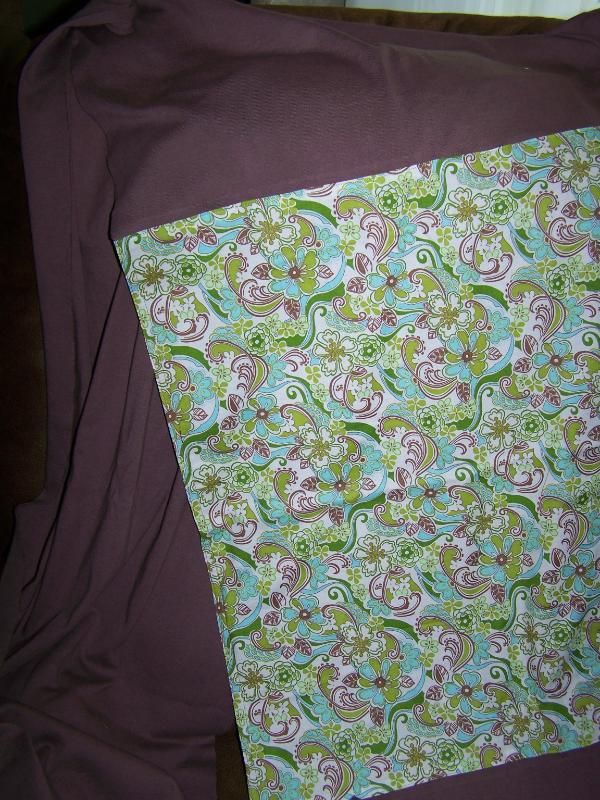
- **Optional** Square of fabric (in my case 24"x24") to use as a supporting/decorative panel.
- **Optional** Serger if you want finished edges. I don't have one. I did a test strip to see if I could zig-zag the edges... I do not recommend that. Knit doesn't flow under the presser foot very well on edges so it tended to get bunched up a lot.
- Scissors and/or rotary mat
(She uses a 4-way knit if you follow her tutorial and I have not seen any post regarding issues with support from her. Reading the comments in her post got me in to researching the differences and that's how I came up with the conclusion to use a knit that stretches in the width.)
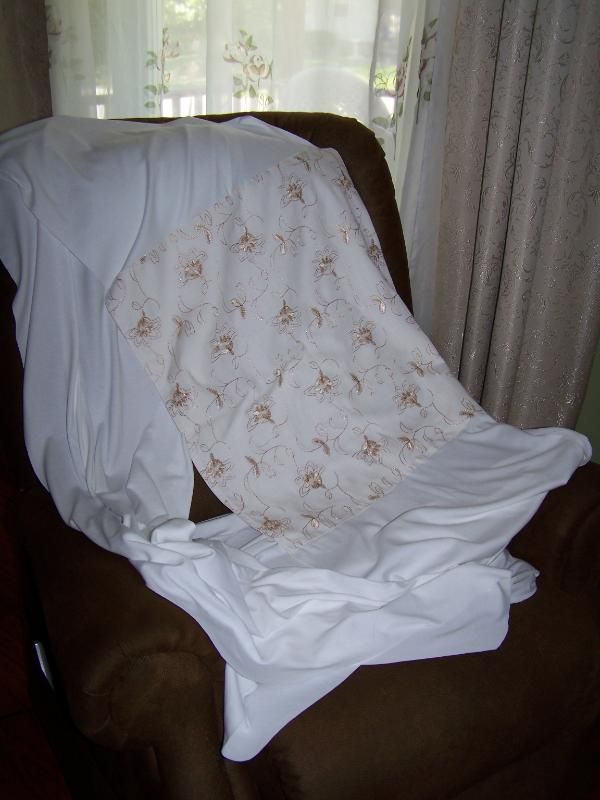
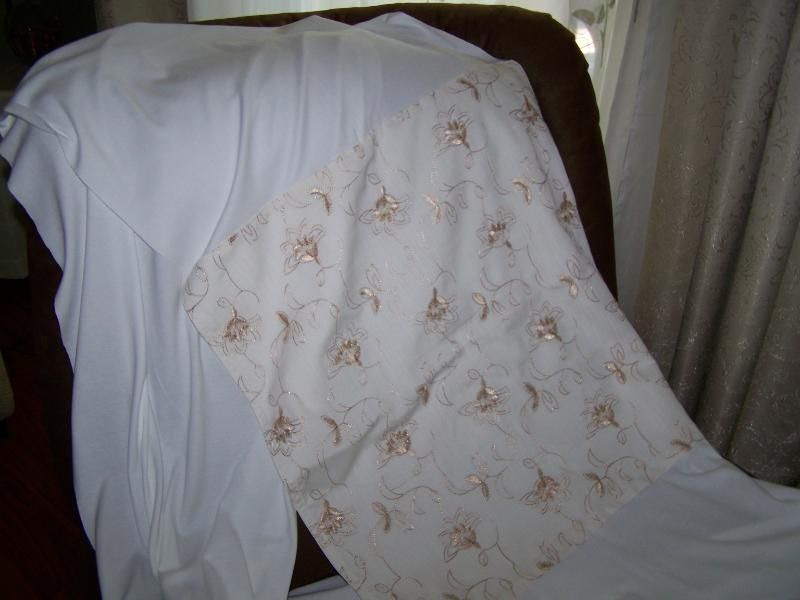
I really love my white Moby Wrap but life reminds me white will probably not look so white forever. This wrap has a more elegant look to it so it might be one I use for special occasions or to be a color-neutral option depending on what I'm wearing.
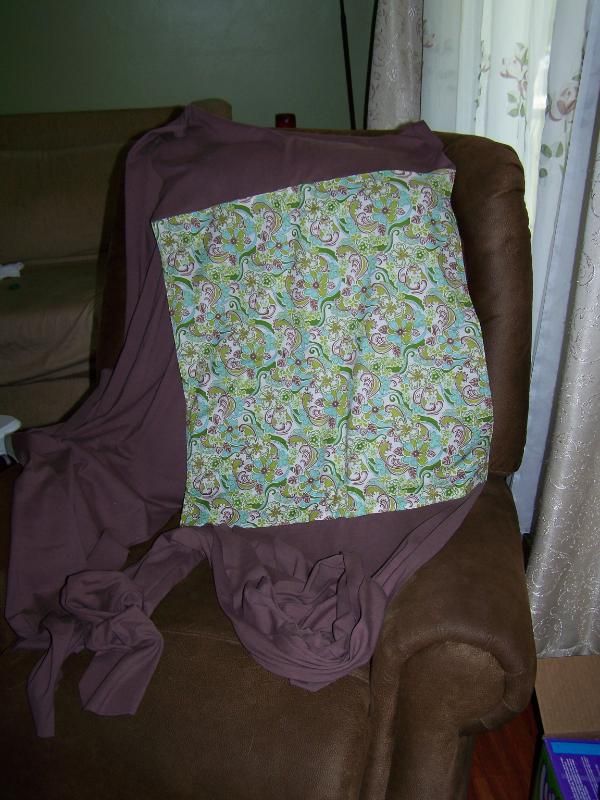
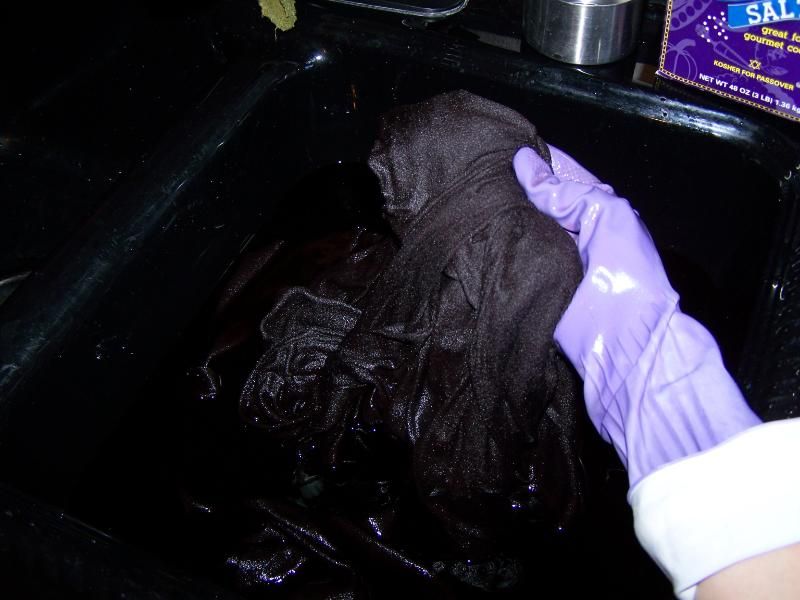
In order to have another wrap available for more casual use I knew I needed a different color knit but I was not about to go buy more. Rit Dye to the rescue! Never used this stuff before but in order to get what I wanted for a minimal price, dying the fabric was my only option.
You can check out how I dyed all this fabric here!
Moby Wraps cost $45+ depending on the style you want.
The white wrap cost about $15 after adding the fabric panel.
The brown wrap cost about $16 after adding the fabric panel and dying the knit.

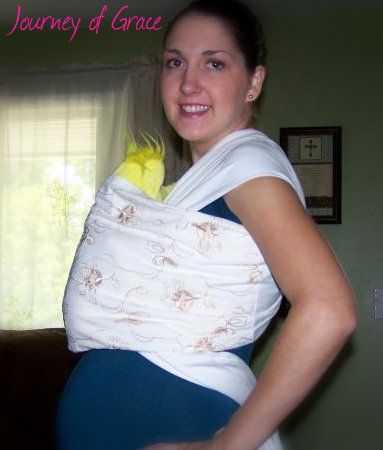
(I did the best fit I could considering I have a large belly in the way. What you are seeing is the newborn wrapping method so the panel is folded in half to create a pouch for baby.)
~~~~
Ring Sling
To make your own you will need:
- Between 2 and 2.5 yards of fabric in length and between 25-30in in width. I'm a small framed person so 2 yards x 30in works for me (Fabric FAQ)
- Coordinating thread
- 2 Aluminum sling rings appropriate to the weight of your fabric (I used Large 3in rings from www.slingrings.com). I ordered the 3-ring assorted size samples in neutral colors. It'll come with a set of large, medium, and small rings. I think I was given silver large, black medium, and navy small.
- Sewing machine
The fabric I purchased is an embroidered fabric so it looks the same on both sides. This works perfectly because the tail of the fabric, once pulled through the rings, will show the back, or wrong side. If it looks the same on both sides it's not really an issue. If it doesn't, you can always choose a coordinating fabric to with the same dimensions to sew on to your fabric, or leave it as-is. Up to you :)
My fabric (what was left on the bolt) was 2yd4in x 60in. I simply cut down the center fold to get my 2yd4in x 30in fabric. Just like with the DIY Moby, once you've cut down the center you essentially have enough left over for another sling. I, however, used a chuck of that leftover fabric to make an elegant panel for my white Moby.
I hemmed my fabric on 3 sides to hide the raw edges. On the short side that will get tucked through the rings I only folded in once. There will be plenty of thick fabric to sew on that end once the rings get put on so one fold is plenty.. the raw edges will not be seen once it is completed.
Adding the rings:
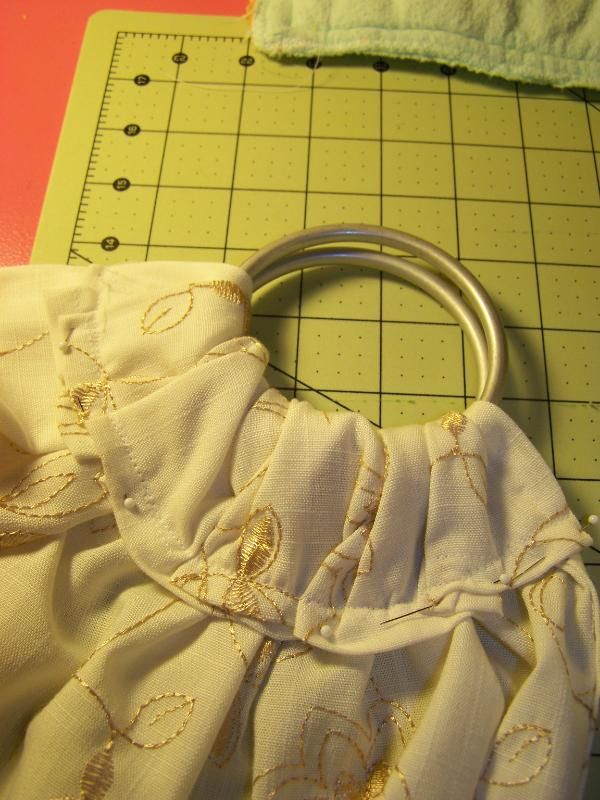
As illustrated in the "fanned/gathered technique" photo from Variations on ring sling shoulders, mark your fabric at 1/2 in, 2in, then 2in again. This will help you to place your rings in the right spot and show what point to fold your fabric to so you can sew it down.
To make your sling without pleats you have to be patient,
pin a lot, and sew through several layers of bunched up fabric. It
wasn't so bad but I noticed when I was done the fan was quite
wide compared to a pleated fan. I've read that can be uncomfortable over time with the weight of a
baby if the fan of the shoulder goes too far down your arm. Makes for
less mobility of your arm.
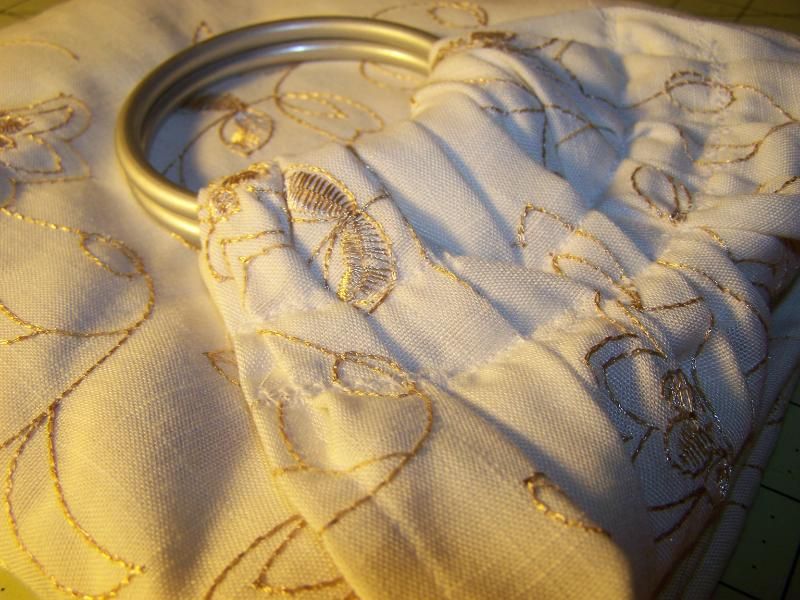
I went back and bunched up the fabric more, sewing along the same line, then moving up and sewing a new line for added security. I even attempted a decorative stitch on top of that 2nd row of stitching. Attempted. It serves its purpose but didn't turn out so great probably because of the amount of uneven fabric it was working through. Good thing it was white thread and not incredibly visible.
I went back and bunched up the fabric more, sewing along the same line, then moving up and sewing a new line for added security. I even attempted a decorative stitch on top of that 2nd row of stitching. Attempted. It serves its purpose but didn't turn out so great probably because of the amount of uneven fabric it was working through. Good thing it was white thread and not incredibly visible.
Once you have your rings sewn securely in place for the shoulder (may want to do a decorative stitch or go back over with a couple more straight stitches) you can try it on and "thread" your rings!
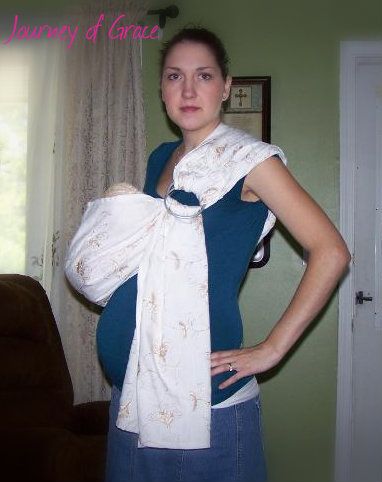
This Ring Sling cost me about $10.
~~~~
~Lisa~

