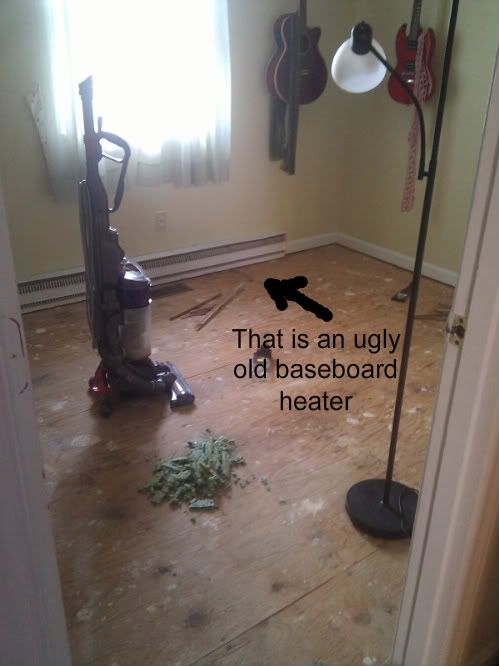
I'm telling you right now, this is as fancy as fancy gets. Your mind is about to blown by all of the insane detail in this tutorial.... that is not true. BUT I do have a few really good and possibly life-saving tips for you if you plan on removing old baseboard heaters!
****In all seriousness, I highly recommend doing some real research on this process. My post is meant to be very lightly informative and humorous!****
My husband has been a tremendous help in this extra room project. He even took off work a couple hours early to get started. I do love him :)
1.) First thing's first, turn off the breaker to the heater! Nobody wants to get electrocuted eh?!
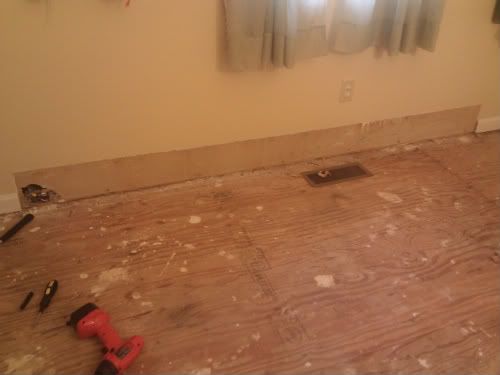
2.) Then unscrew lots of screws. We used the drill and even a manual screw driver to get it done as some are hard to reach.
3.) Rip that ugly thing off the wall and admire original drywall where you will have to paint and buy a new piece of trim to fill the gap.
4.) Wires. Now you need to undo the wires, cap them, and create a little box in the wall with a plate cover on the wall. Something to do with fire hazards and building codes... Remember the breaker we turned off? Yeah, not the right one. I was in the middle of ironing my skirt for work across the hall when I heard a pop and all the lights flicker. That would have been wires sparking!!
1.) Let's go back to step one: Don't turn of the breaker to the "heater"... which I found out later Hubster turned off the breaker to that room. Apparently that room and the heater are on different circuits. How 'bout turn off the breaker to the entire house! That'll do it for sure.
5.) Thank the Lord that when the wires sparked and welded themselves to the metal box that your husband was spared any injury,
6.) Cap wires, screw box to wall, and put the plate over the box!
Done!
(Step 6 not done in photo but I had to run off to work.)


No comments:
Post a Comment
I LOVE comments so please leave one about my post before continuing on your creative journey!