We're less than 2 weeks away from the beginning of kindergarten, and since I am homeschooling I've had to come up with some of my own ideas on how to cut costs and still maintain a functioning home + school environment. One dilemma has been a large writing surface (i.e. dry erase or chalk board).
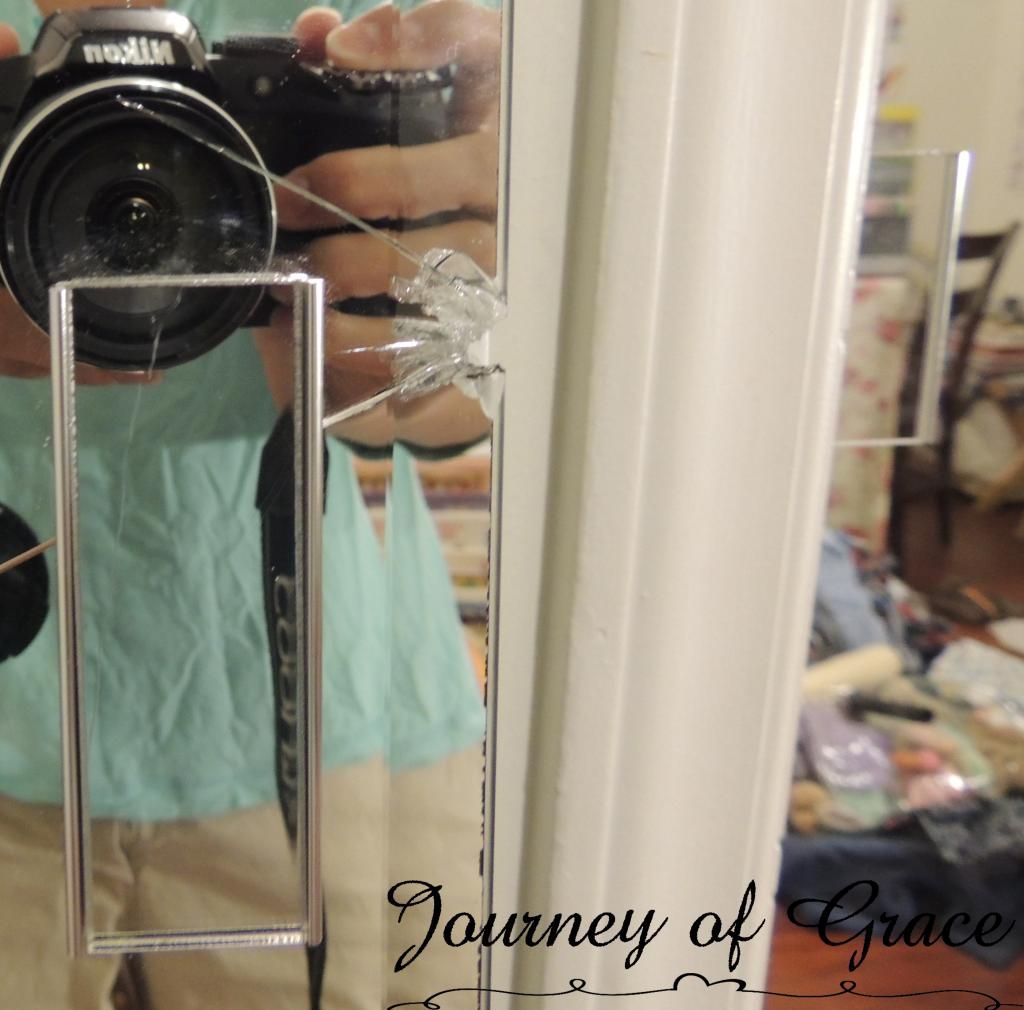
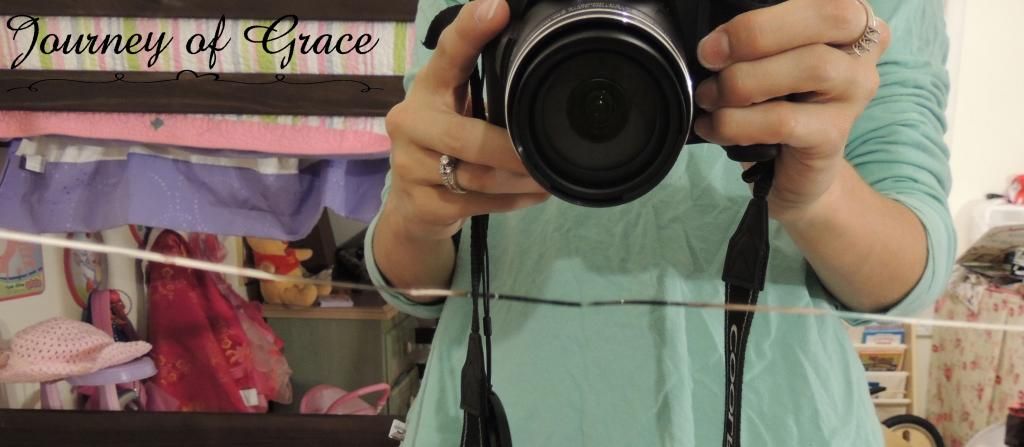
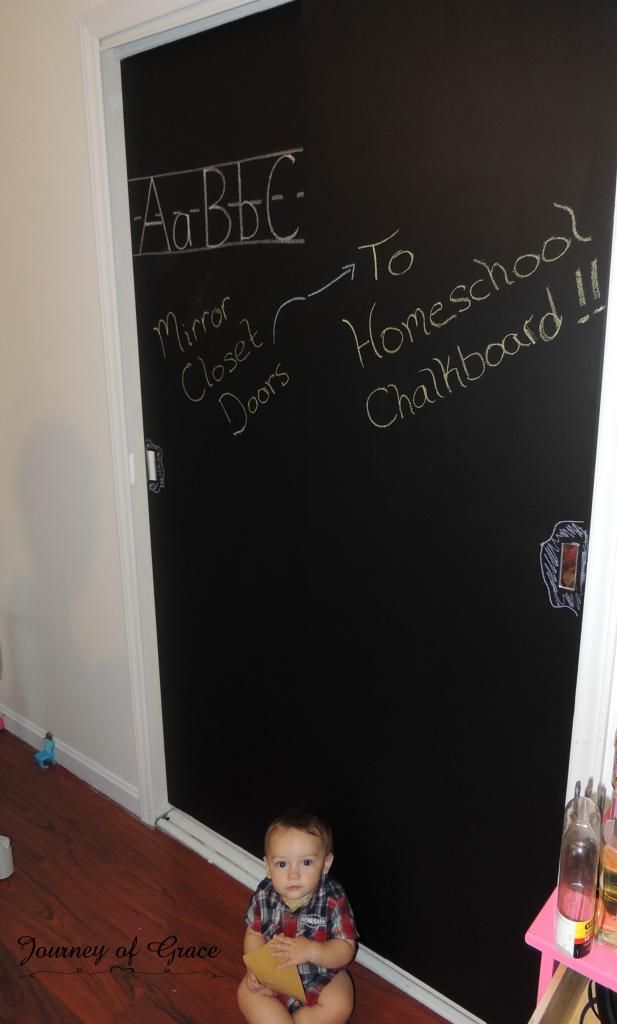
After a little digging I picked the sliding mirror closet doors in my daughter's room as the victim. Normally I would hate to cover them... she loves to use them when she plays, but unfortunately one of the doors has a large crack and jagged edge that I've been itching to hide somehow. And available wall space is an issue so this was a win win!

Here is what you will need:
Glass cleaner
Microfiber cloth
(or something that will pick up all the lint!)
**Primer**
(I used a grey primer. If you don't prime you risk an uneven coat of paint resulting in more paint being used and possibly peeling prematurely.)
Chalkboard paint
(Valspar brand is what I used)
Foam roller
(Don't use one with fibers... I'll show you why later)
Painter's tape & drop cloth
Chalk & eraser
Chalk & eraser
Tape your surface anywhere you do not want paint. Clean your mirror very well and use a microfiber cloth to help grab up any extra linty pieces. Use a foam roller and begin priming your surface. Completely and evenly coat it and let dry. I let mine dry overnight.
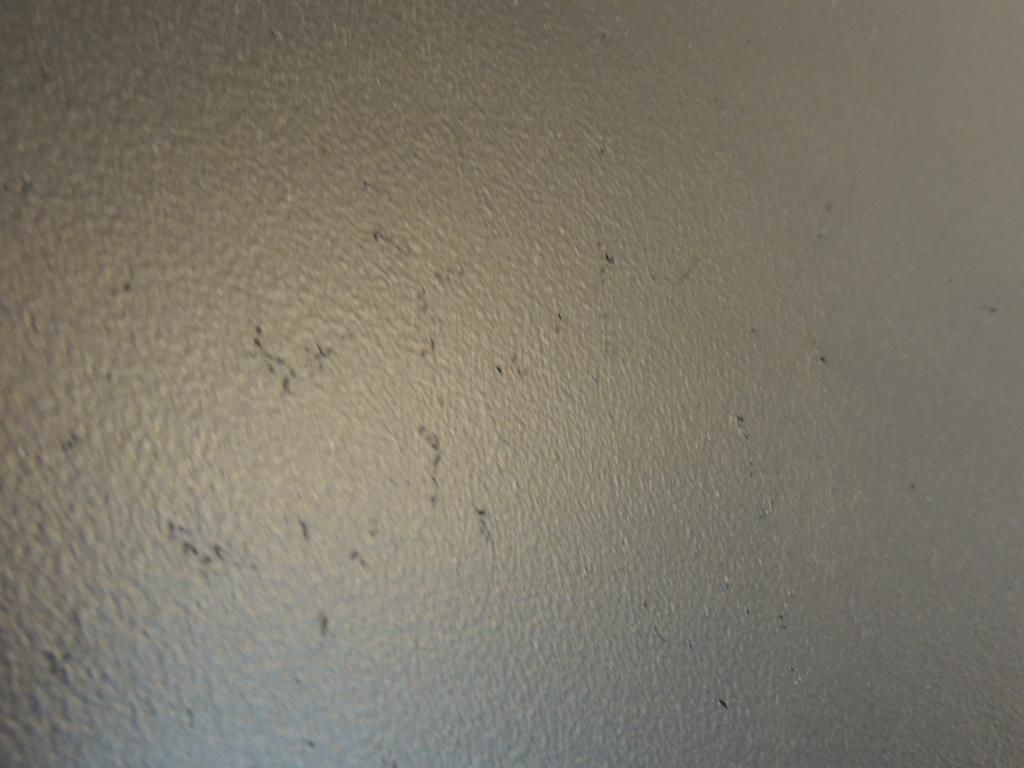
**I used a reguar cheap roller for my primer coat. I wish I had not done that. It resulted in fibers being pulled from the roller and left on the mirror. I didn't really catch it until it was too late and far too bad to pick out individual pieces. Once I added a coat of chalkboard paint I took a very fine grit sand paper and sanded down the rough fibers as much as I could.**
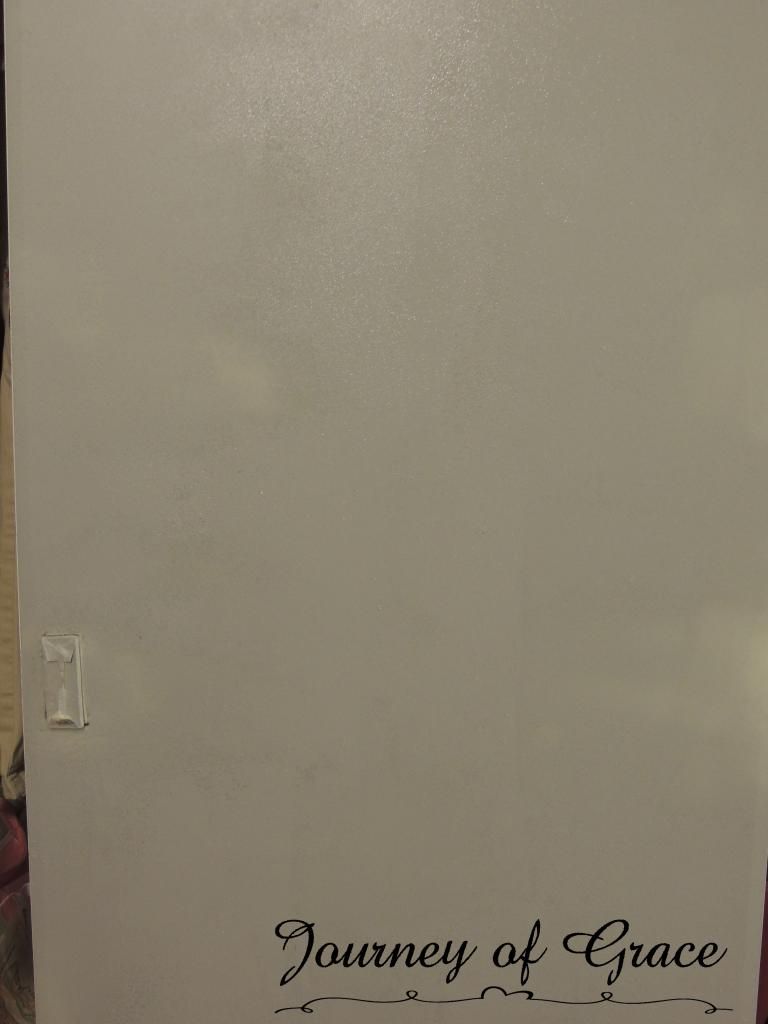
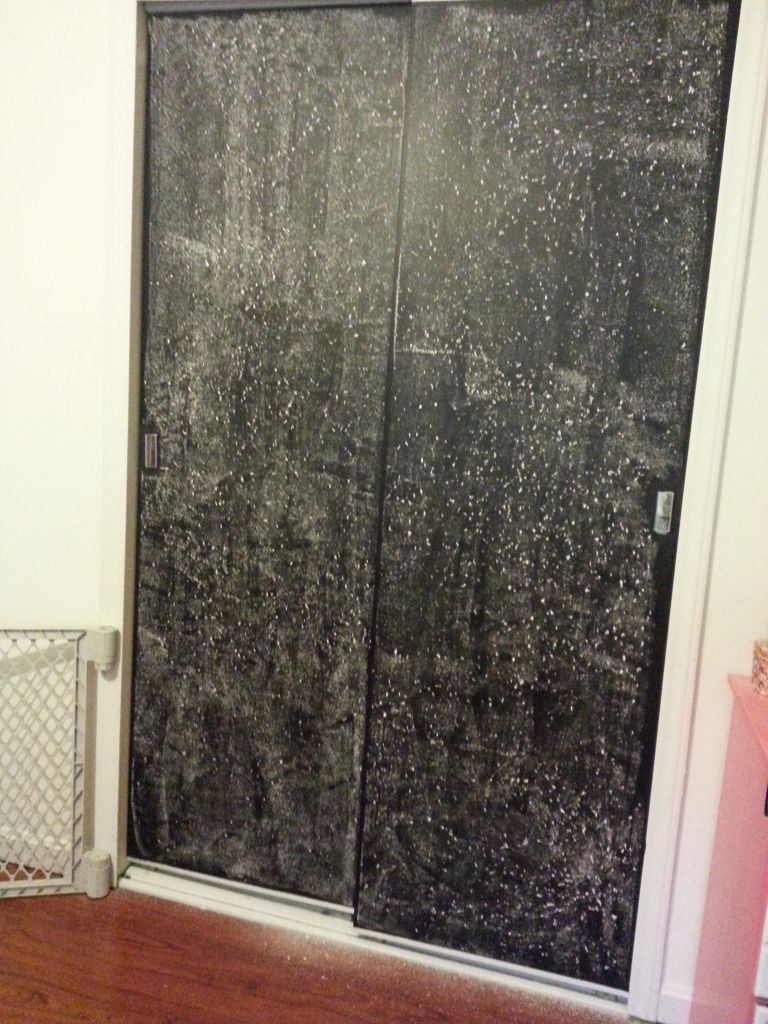
You can see in this image where all the fibers caught the chalk later during the "priming" process. It's not a perfectly flat surface but it still writes very well, just a few little bumps here and there.
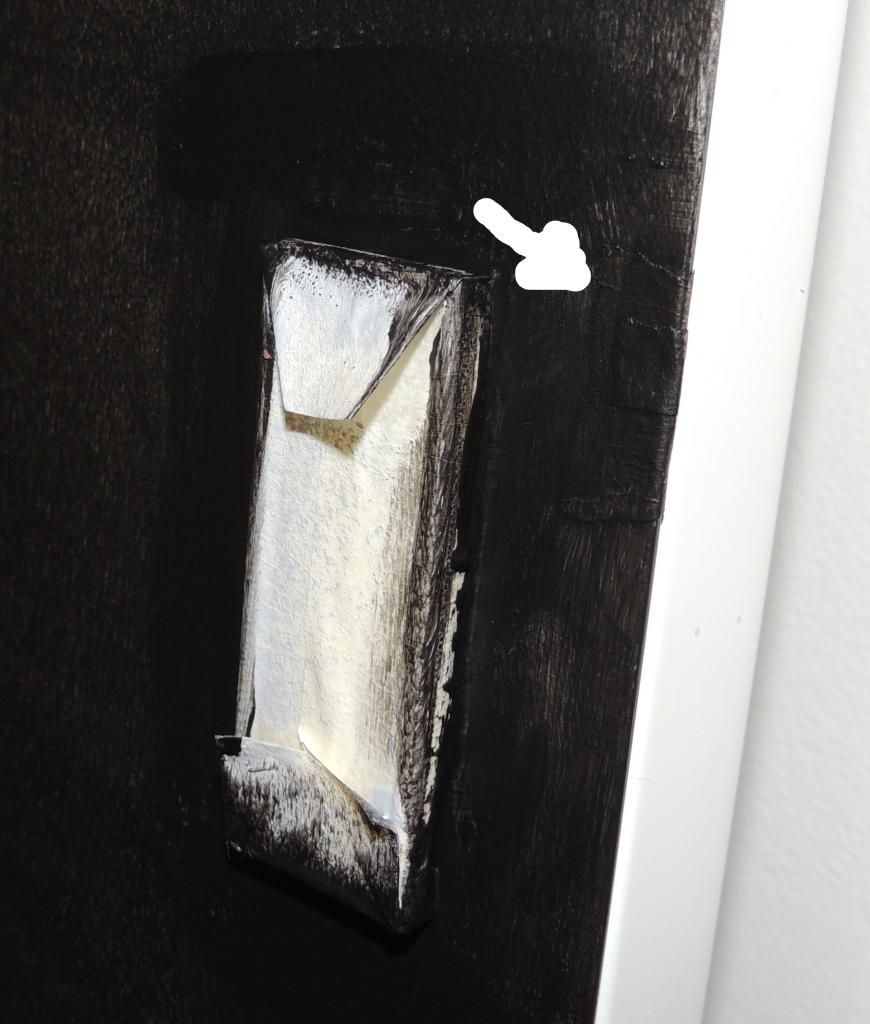
To fix the nasty chip in the mirror I took a quick and simple route of using painter's tape. I took a couple of small pieces and wrapped it around the chip then proceeded to paint over it. You can barely tell on the finished product.
Apply 2 to 3 coats of chalkboard paint according to package instructions, prime the surface with chalk as shown above (I used sidewalk chalk for quick application), erase and you now have a great writing surface!!
~~~~~
The more I think about it the more excited I am to use the board for school. I can see the sliding doors coming in very handy for hiding subjects, revealing one letter, number or word at a time during different learning activities... yay!




Turned out great....love the use of your space.
ReplyDeleteI'm so glad I found this! I've been wanting to do this. We homeschool as well so I could really use the space. We too have a crack in our mirror. What did you do for yours? Just paint over it? I've been holding off doing the project because I have no clue what to do about the crack! Thanks!
ReplyDeleteHi Debra! Thanks for checking out my link! The crack in my mirror literally goes from one end to the other. The only part of it that is worrisome is what is pictured above because there is the broken sharp edge. The rest of it is smooth and mostly just visible. I simply painted over it with no issues! I wrapped a few small pieces of painter's tape around the broken part since it's a thicker tape and I was able to wrap it around the edge to the back side of the mirror. Then just painted right over it, too! It's been broken for a couple years and has never gotten any worse even with my daughter opening and closing the doors. I hope that helps you out some! I have a mirrored bi-fold in the hallway that covers our hall closet that also has a crack near the bottom where something got wedged between the mirror and wall next to it. One day I would like to frame that mirror out with paint to hude that crack!
DeleteThanks so much! Ours is cracked across the whole mirror too. Will be doing this soon. Thanks again!
ReplyDeleteNo problem :) Today was our first day of homeschool and it worked out beautifully! Couldn't be more please (so far) with the outcome!
DeleteIm going to do this with dry erase paint!! LOVE!
ReplyDelete