Not too many sewing projects (at least that I have come across) call for elastic thread, but when one does and you've never heard of such a thing or personally used it, it can throw you off a bit. I remember when I first went searching for it in-store I was having a heck of a time. It wasn't with all the thread?! Der, it was with the elastic, and it is definitely not as thin as regular thread!
Since there is a first time for everything and for everybody, here's a simple tutorial with photos to help you get started on using elastic thread in your sewing machine.
As a heads up, in this case, I am NOT changing the tension or thread
length settings on my machine. You'll do that for rouching projects.
Keep your settings at 'normal'!!
~~~
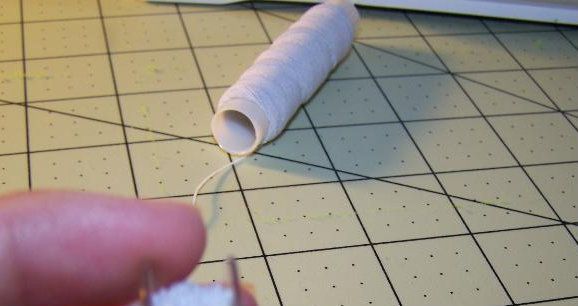
Elastic thread can be purchased at most any craft/sewing supply stores pretty cheap and in several different colors (Example). Here is a picture of my elastic thread... it didn't come on a spool like my example link does, it was in plastic packaging hanging on the wall.
Thread your upper thread with regular thread (thread...thread...thread...!!) of your choice for the project.
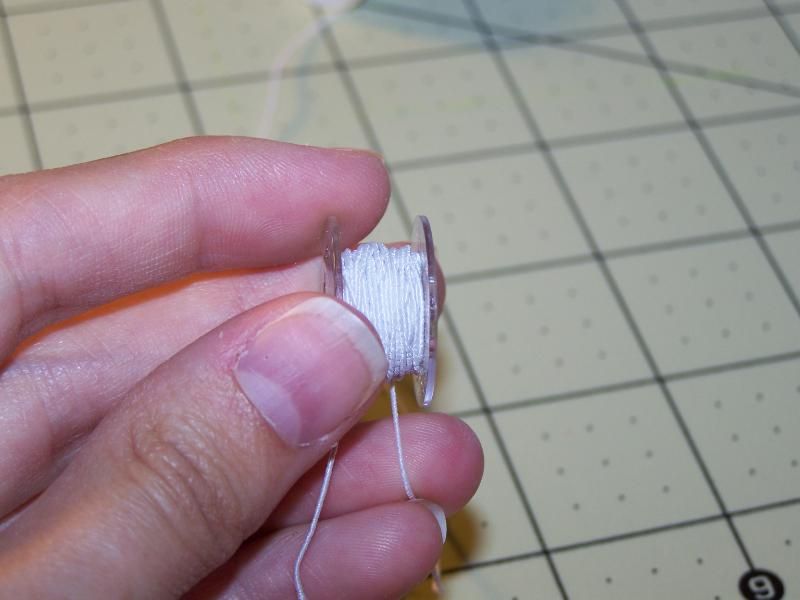
Take an empty bobbin and begin wrapping your elastic thread around it. Don't pull too tightly, just slightly! You don't want it wrapped really loose but you don't want too much tension, either. When I start wrapping mine I hang on to about 1.5 inches so that it won't slip around the bobbin as I get the first several rounds going. You can see my excess in this photo laying over my pinky.
Take your time winding it. I have accidentally dropped the bobbin, then it rolls away, and I have to start over! Argh!
Once you fill the bobbin about half-way, maybe a little more, go ahead and snip the loose end back to where it isn't hanging out, and of course detach the other end from the elastic thread roll.
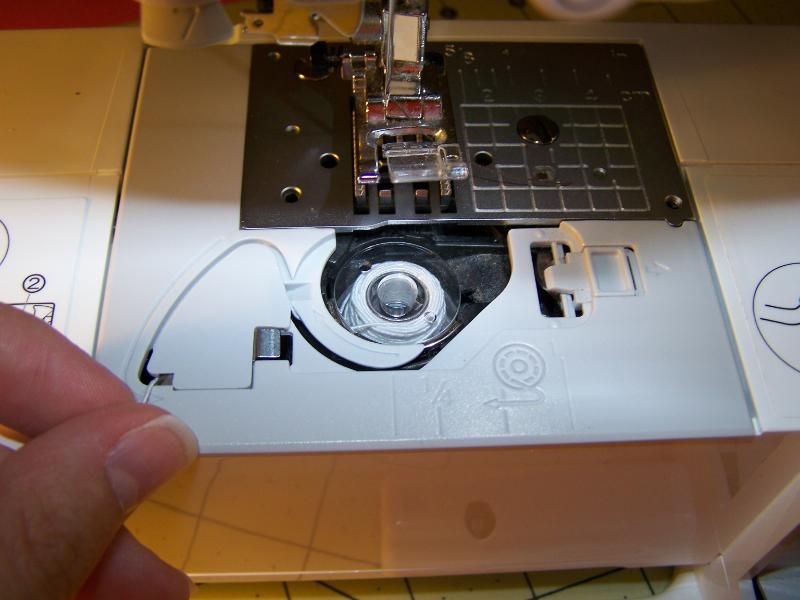
Follow the instructions for placing the bobbin in your machine.
I'm not sure if you really need to cut the end of the elastic thread like you do your regular thread, but I do anyway. Hold your finger over the bobbin (not on the camera like me) to keep it from moving then quickly yank the elastic in to the cutter. Pulling slowly like you do your regular thread doesn't work so well.
The very first time I ever used elastic thread I opted for some experimenting on scrap fabric (preferably scrap fabric just like whatever your project fabric is) to make sure I had it down. I suggest you try this too.
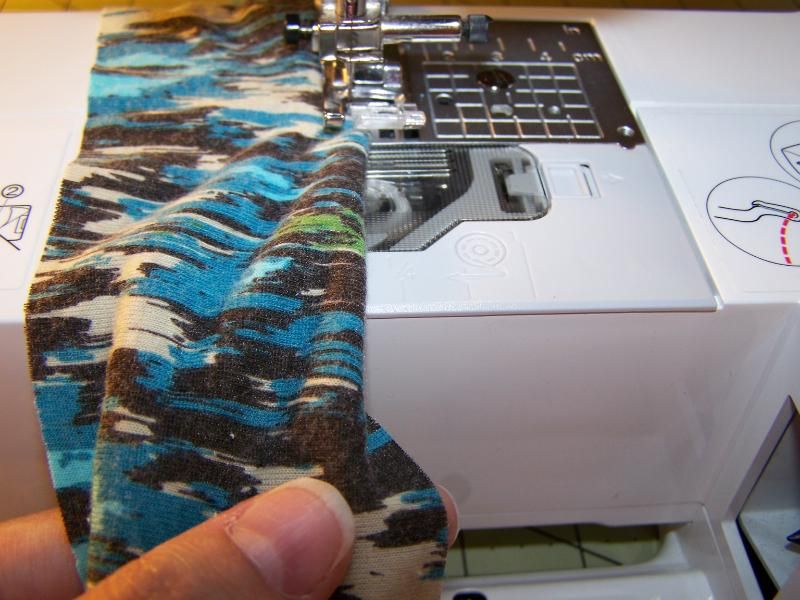
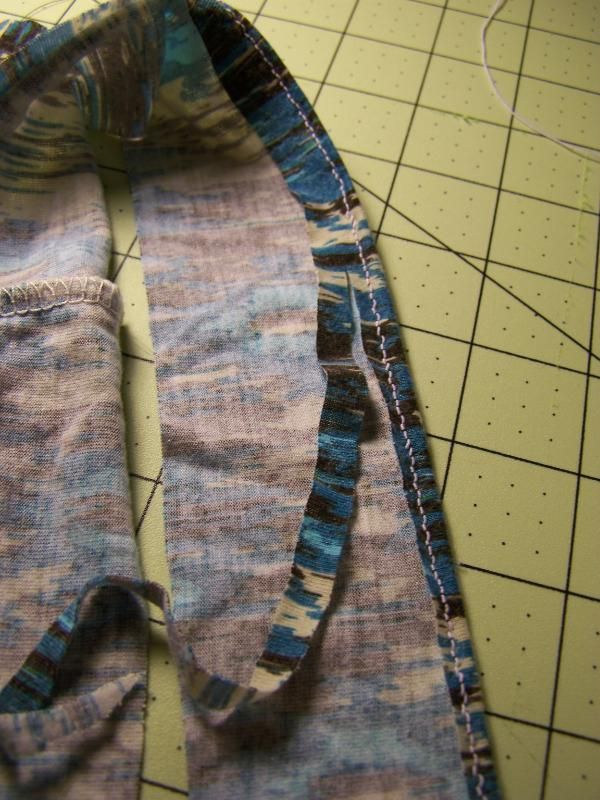
In this project I'm using a knit material. It's already stretchy but for a waistband I want to make sure the thread doesn't break. Using the elastic thread helps it have more give and leave the knit material with its stretchy quality.
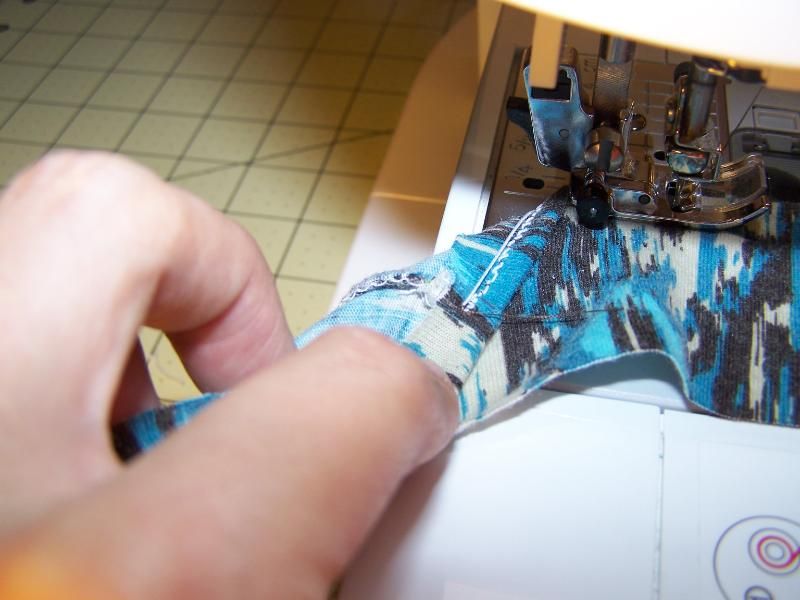
I've flipped the fabric over here to show you what it looks like coming out from under the foot.
When you are finished sewing and hit the 'cut thread' button (or however you do it on your machine) most likely the elastic will not cut. It's hit and miss in my case so be careful when pulling the fabric from the machine... you might accidentally yank several inches off your bobbin which could be frustrating especially if you aren't done using it. Pull the fabric away gently and if it is still attached, cut the thread with your scissors. You should be GTG now!
I'll be honest, this particular project was a flop but it had nothing to do with using the elastic. It was an experimental deal that I plan to try again and hope will be a success. My point here is just simply about the elastic thread and its use in your sewing machine :)
Happy elastic thread usage!
~Lisa~

